 Save
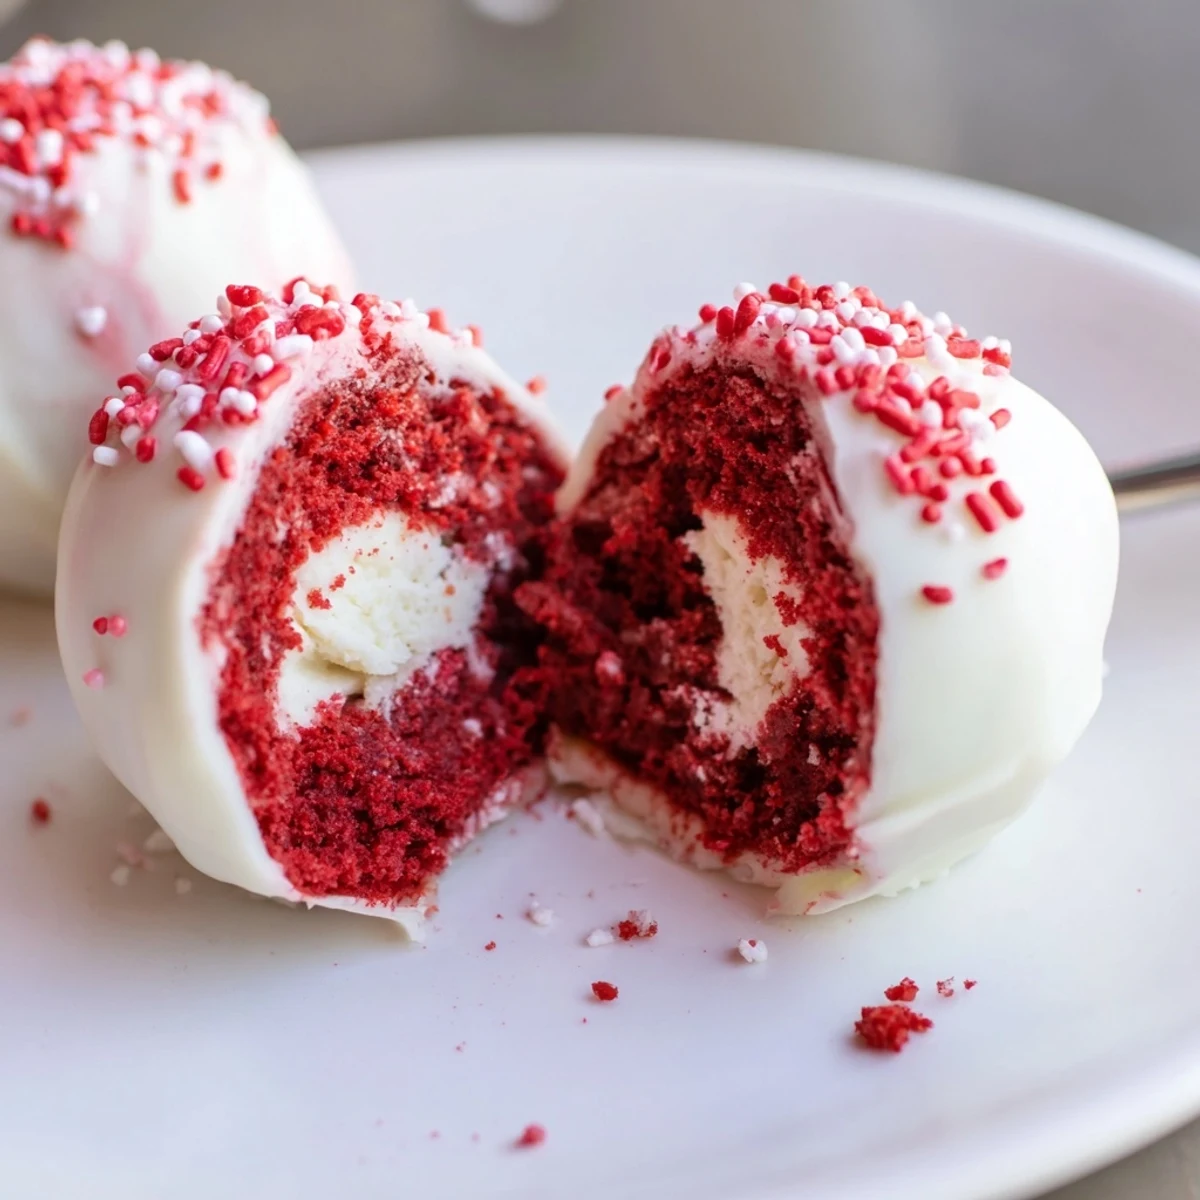
Save Turn crumbled red velvet cake into a creamy cheesecake filling by beating softened cream cheese with powdered sugar and vanilla, then folding into fine cake crumbs. Shape tablespoon-sized portions, chill until firm, and dip each in melted chocolate (white, dark, or semisweet). Tint the coating with red food coloring if desired and finish with crumbs or sprinkles. For variation, fold in chopped nuts or coconut. Chill again to set; store chilled up to five days.
My kitchen counter looked like a crime scene the first time I made these, red crumbs scattered everywhere, but those little chocolate dipped bites were so gorgeous that nobody cared about the mess.
I brought a tray of these to my neighbors holiday party last December and watched three guests abandon the dessert table to ask me exactly what was in them.
Ingredients
- Red velvet cake (300 g): Use a fully cooled homemade or store bought cake, and do not skimp on crumbling it fine.
- Cream cheese (200 g, softened): Let it sit at room temperature for at least 30 minutes so it blends without lumps.
- Powdered sugar (40 g): Just enough to sweeten the filling without making it overly stiff.
- Vanilla extract (1 tsp): A good quality extract lifts the entire cheesecake layer.
- White chocolate (250 g): Choose a decent melting chocolate because cheap coating chocolate seizes and ruins the dip.
- Red food coloring (optional): A few drops tint the white chocolate for a dramatic finish.
- Red velvet crumbs and sprinkles (optional): Save a handful of cake crumbs before mixing for decoration.
Instructions
- Crumble the cake:
- Break the red velvet cake into a large bowl and rub it between your fingers until you have uniform, fine crumbs with no large chunks hiding inside.
- Whip the filling:
- Beat the softened cream cheese, powdered sugar, and vanilla together until the mixture is completely smooth and silky, scraping the bowl once or twice to catch stray bits.
- Bring it all together:
- Pour the cream cheese mixture over the crumbs and work it in with your hands or a spatula until everything binds into a soft, pliable dough.
- Roll into balls:
- Scoop roughly tablespoon sized portions and roll them firmly between your palms, placing each one on a parchment lined tray as you go.
- Chill thoroughly:
- Slide the tray into the refrigerator for at least one full hour so the balls firm up enough to handle the dipping without falling apart.
- Melt the chocolate:
- Warm the white chocolate gently in a microwave safe bowl in short 20 second bursts, stirring between each, until completely melted and glossy.
- Dip and coat:
- Lower each chilled ball into the chocolate, swirl to cover, tap off the excess against the bowl edge, and set it back on the parchment.
- Decorate while wet:
- Scatter crumbs or sprinkles over each ball right away because the coating sets faster than you expect.
- Let them set:
- Leave the finished balls undisturbed at cool room temperature or in the fridge until the chocolate shell is completely firm to the touch.
 Save
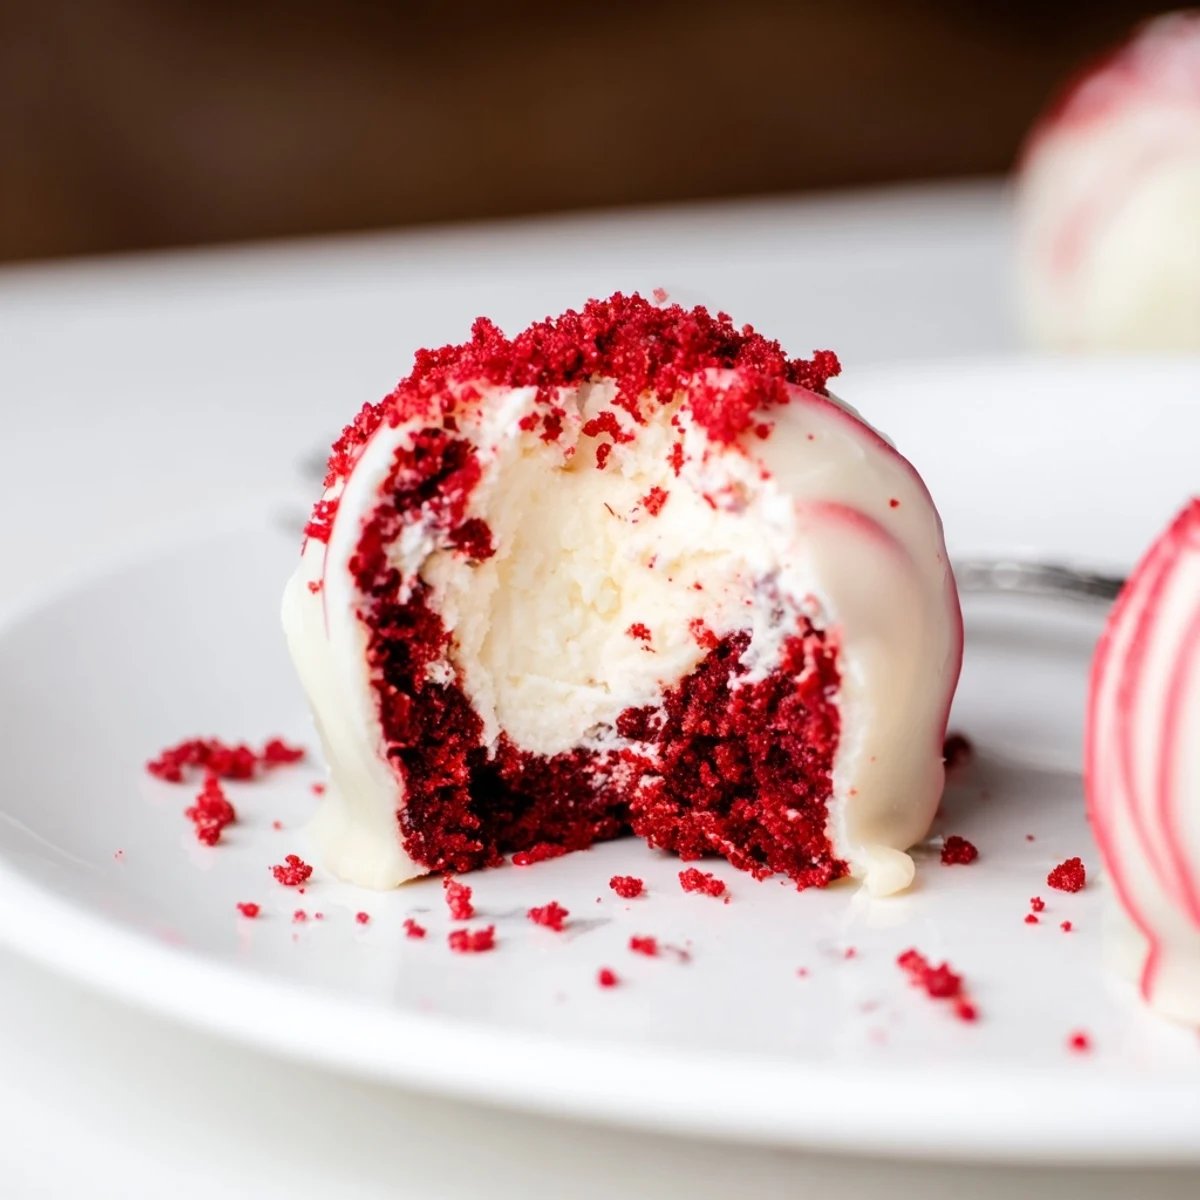
Save There is something deeply satisfying about watching a tray of these glossy, jewel toned bites come together with barely any effort.
Storing and Making Ahead
Keep them in an airtight container in the refrigerator and they stay perfect for up to five days, though in my house they rarely survive past day two.
Swapping the Coating
Dark or milk chocolate works just as well as white if you prefer a less sweet shell, and I actually love the contrast of bitter dark chocolate against the sweet cheesecake center.
Quick Troubleshooting
Most problems with this recipe trace back to temperature, so keep your ingredients and your kitchen cool while you work.
- Chill the tray of rolled balls for the full hour, not a minute less.
- Use a toothpick or fork to dip rather than your fingers if the chocolate runs.
- Always save extra crumbs before mixing the dough so you have decoration ready to go.
 Save
Save Share these at your next gathering and watch them disappear, then quietly enjoy the fact that they took almost no real work at all.
Questions & Answers
- → How do I get a smooth filling texture?
-
Beat the cream cheese until very smooth before adding powdered sugar and vanilla. Mix it thoroughly into fine cake crumbs until a uniform, pliable texture forms to help the balls hold shape.
- → How long should I chill the balls before coating?
-
Chill the shaped balls for at least 1 hour so they firm up; this prevents them from falling apart when dipped in melted chocolate.
- → What's the best chocolate for coating?
-
White, dark, or semisweet chocolate all work. Use couverture or a higher cocoa-butter content chocolate for a shinier, crisper shell; tempering yields the best snap but melting gently works fine for home use.
- → Can I add mix-ins to the filling?
-
Yes. Fold in 1–2 tablespoons of crushed nuts, shredded coconut, or finely chopped toasted pecans for texture and flavor variations without altering the base method.
- → How should I store these bites?
-
Keep them in an airtight container in the refrigerator for up to five days. Let them sit at room temperature a few minutes before serving for softer texture.
- → Can these be frozen?
-
Freeze individually on a tray until firm, then transfer to a sealed container. Thaw in the fridge before serving; note the coating may sweat slightly on thawing.
