 Save
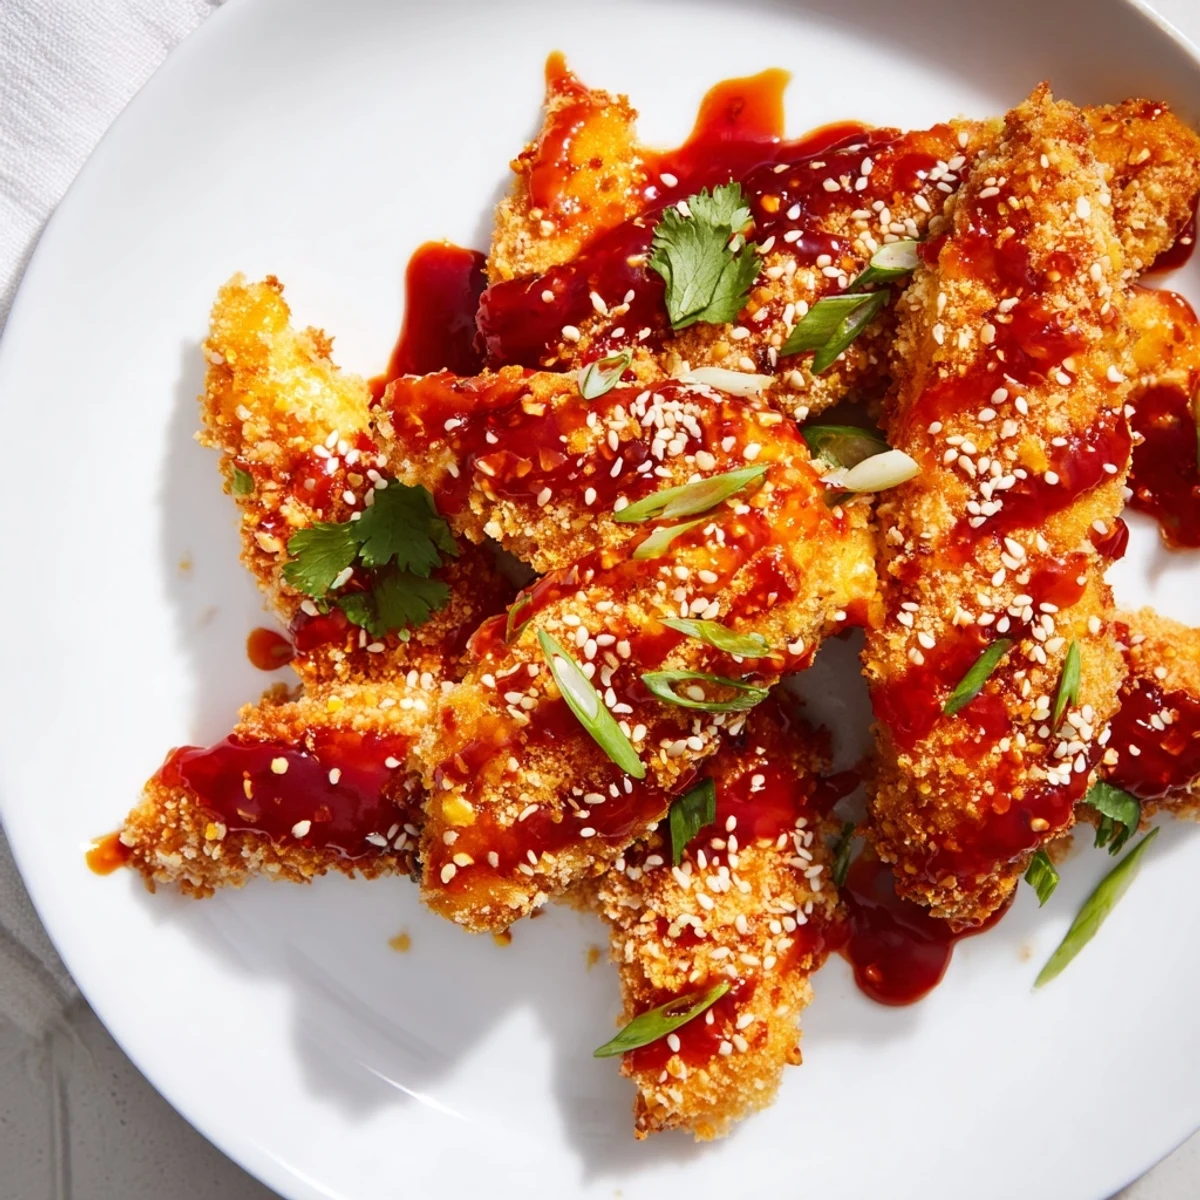
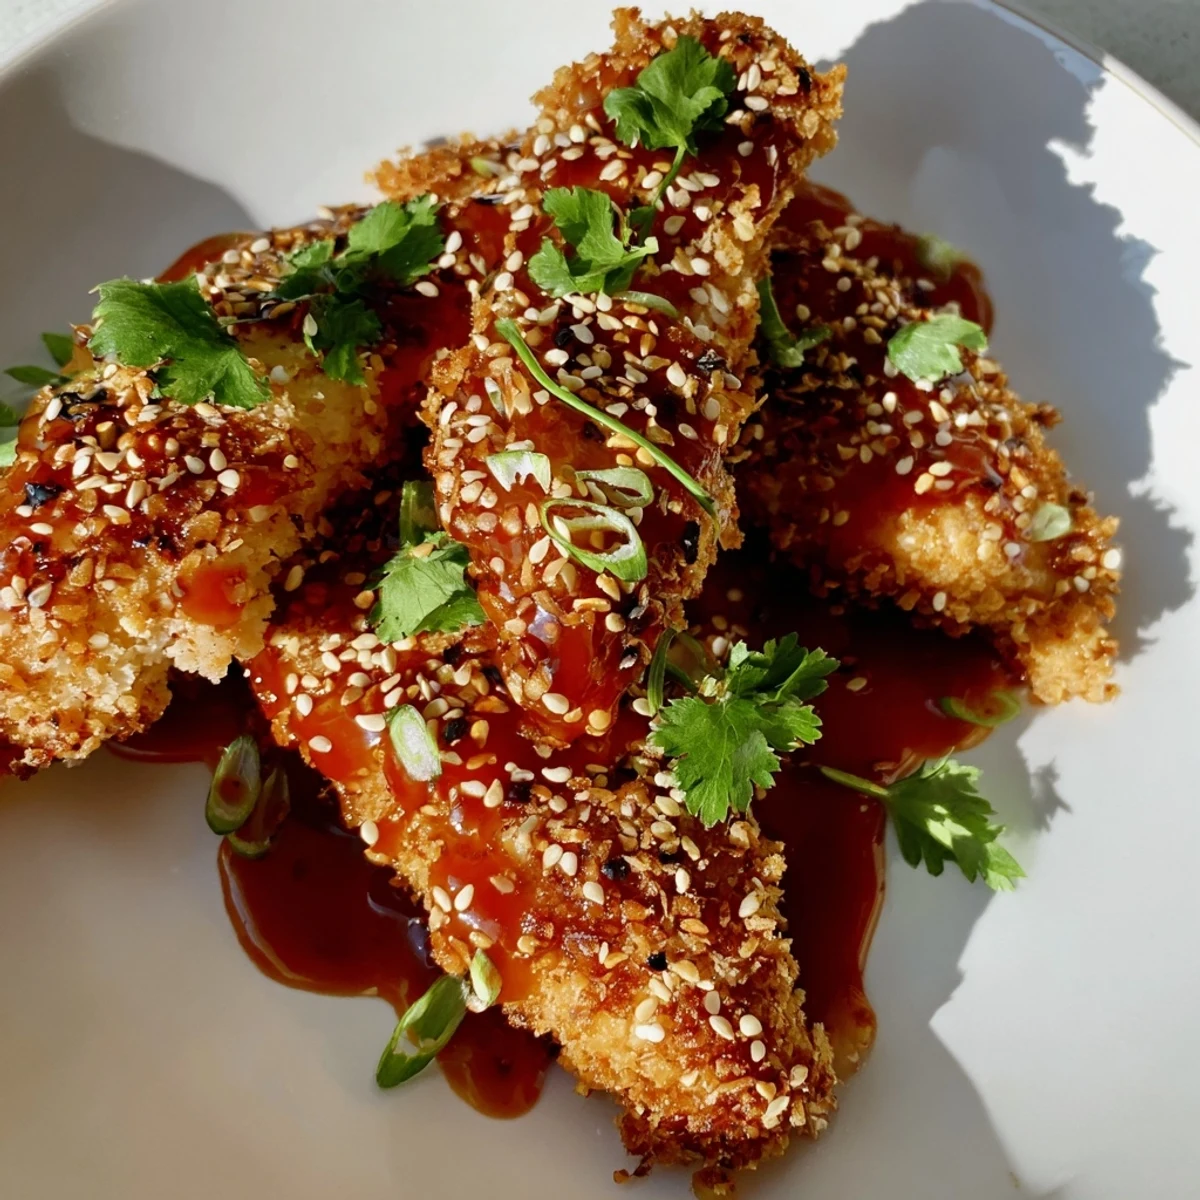
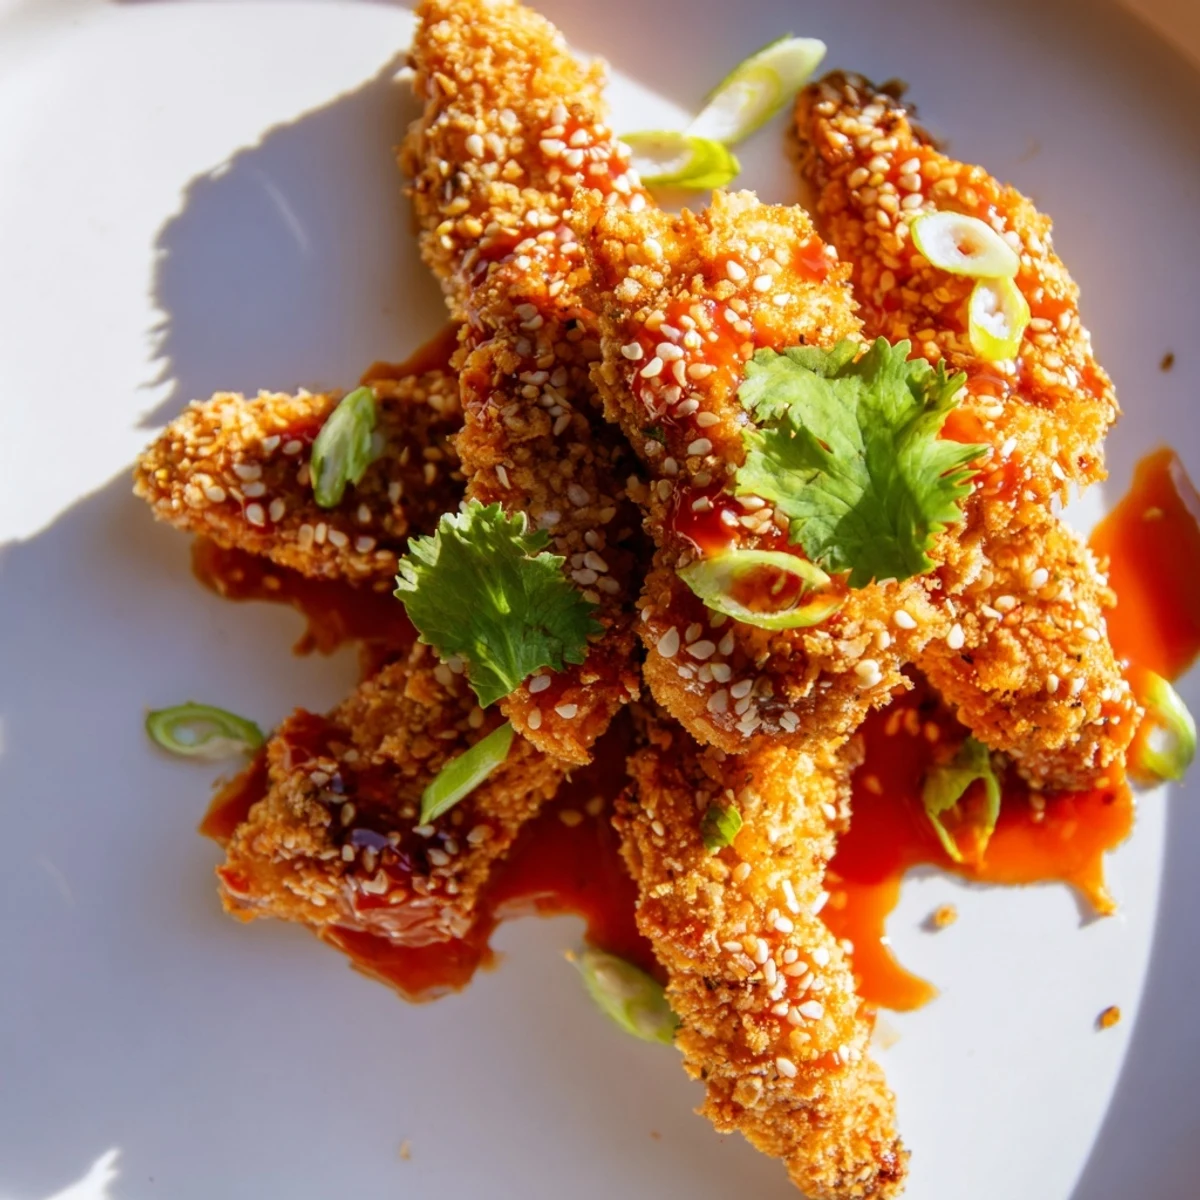
Save These crispy chicken fingers feature a crunchy panko coating seasoned with garlic and smoked paprika. After baking until golden, they're tossed in a homemade sticky Thai sauce blending sweet chili, soy sauce, honey, and aromatic ginger-garlic. The balance of sweet, spicy, and savory flavors makes these irresistible fingers perfect for parties or family dinner. Garnish with toasted sesame seeds, spring onions, and fresh cilantro for restaurant-quality presentation at home.
The first time I made these for a Friday night gathering, my friend Sarah actually asked if I'd ordered them from that Thai place downtown. We stood around the kitchen island, dipping and eating, while the sauce still clung warm to each piece. Someone accidentally double-dipped, and honestly, nobody even cared.
Last winter, my youngest nephew who claims to hate everything with sauce tried one and then proceeded to eat half the platter. He stood on his tiptoes to reach them from the counter, and I pretended not to notice as I quietly slid the bowl closer.
Ingredients
- Chicken tenders or breasts: Cut them yourself into uniform strips so they cook at the same pace
- Salt and black pepper: A simple foundation that lets all those other flavors shine
- All-purpose flour: This creates the first sticky layer that helps everything adhere
- Eggs: Room temperature eggs work better for coating, so take them out early
- Panko breadcrumbs: Japanese breadcrumbs create way more crunch than regular ones
- Garlic powder and smoked paprika: These subtle spices build layers of flavor in the coating
- Sweet chili sauce: The backbone of that signature sticky glaze
- Soy sauce: Adds that essential savory depth and saltiness
- Honey: Natural sweetness that helps the sauce cling to the chicken
- Rice vinegar: Cuts through the sugar with just enough brightness
- Sesame oil: A little goes a long way for that authentic Asian aroma
- Fresh garlic and ginger: Fresh makes such a difference here, dont skip it
- Toasted sesame seeds, spring onions, and cilantro: These arent just decoration, they add freshness that balances the rich sauce
Instructions
- Get everything ready:
- Preheat your oven to 220°C (425°F) and line a baking tray with parchment paper for easy cleanup
- Season the chicken:
- Sprinkle salt and pepper over both sides of the strips, letting them sit while you prep everything else
- Set up your coating station:
- Arrange three shallow bowls: flour first, then beaten eggs, then panko mixed with garlic powder and smoked paprika
- Coat each strip:
- Dredge chicken in flour, shake off excess, dip in egg, then press firmly into the panko mixture
- Arrange and oil:
- Place coated strips on the tray and lightly spray or brush with oil for extra golden crispiness
- Bake until golden:
- Cook for 20 to 25 minutes, flipping halfway through, until the coating is deep golden and chicken is cooked through
- Make the sauce:
- Combine sweet chili sauce, soy sauce, honey, rice vinegar, sesame oil, sriracha, garlic, and ginger in a small saucepan
- Simmer and thicken:
- Bring to a simmer over medium heat, stirring constantly for 2 to 3 minutes until slightly thickened
- Coat and serve:
- Toss the warm chicken in the sauce until each piece is glossy, then garnish with sesame seeds, spring onions, and cilantro
 Save
Save My now-husband first told me he loved me over a plate of these, mid-bite, with sauce on his chin. Romantic timing has never been his strong suit, but the chicken was perfect.
Making Ahead
You can bread the chicken strips up to 4 hours ahead and keep them refrigerated on the prepared tray. Bake them right before serving for maximum crunch, and keep the sauce warm in the saucepan.
Sauce Secrets
The sauce thickens as it cools, so if it seems too thin, just give it another minute on the heat. If it gets too thick, a splash of water brings it back to the perfect consistency.
Serving Ideas
These work beautifully as party food but also make a fun dinner when served with jasmine rice and steamed broccoli for a complete meal that feels special.
- Set out small bowls of extra sriracha for heat lovers
- Offer lime wedges for squeezing over the top
- Keep napkins within easy reach because fingers will get sticky
 Save
Save Theres something universally happy-making about food you can eat with your hands, especially when its this delicious and perfectly messy.
Questions & Answers
- → How do I make the chicken extra crispy?
-
Spray or brush the coated chicken strips with oil before baking, and broil for 2 minutes at the end of cooking time. This extra step creates a deeper golden crust.
- → Can I make these spicy chicken fingers ahead?
-
Bread and bake the chicken strips up to a day in advance. Store refrigerated, then reheat in a 200°C oven for 10 minutes before tossing with warm sauce.
- → What can I serve with Thai sticky chicken fingers?
-
Pair with jasmine rice, fresh vegetable sticks, or a simple cucumber salad. The sweet-spicy flavors also complement chilled Riesling or light lager beautifully.
- → Is there a vegetarian alternative to chicken?
-
Firm tofu works perfectly as a substitute. Press and cut tofu into strips, then follow the same breading and baking process. Reduce cooking time to 15-18 minutes.
- → Can I adjust the spice level in the sauce?
-
Yes. Omit the sriracha for milder flavor, or add extra sriracha and a pinch of red pepper flakes if you prefer more heat. The sauce is very forgiving.
- → What's the best way to store leftovers?
-
Keep in an airtight container in the refrigerator for up to 3 days. Reheat in a 180°C oven for 8-10 minutes to restore crispiness. Microwaving will make them soggy.
