 Save
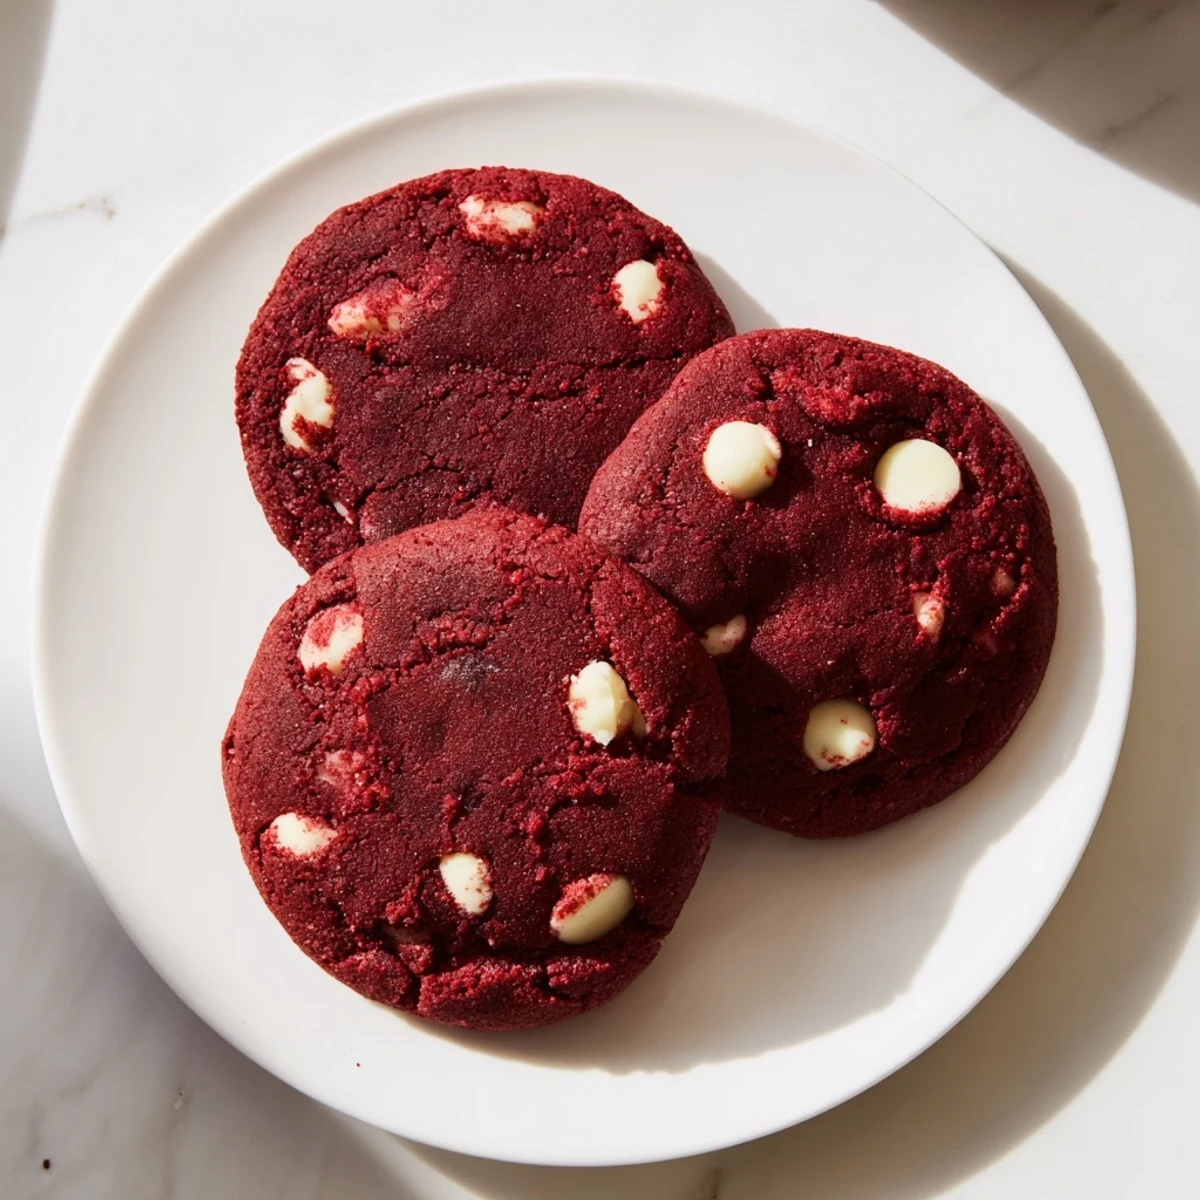
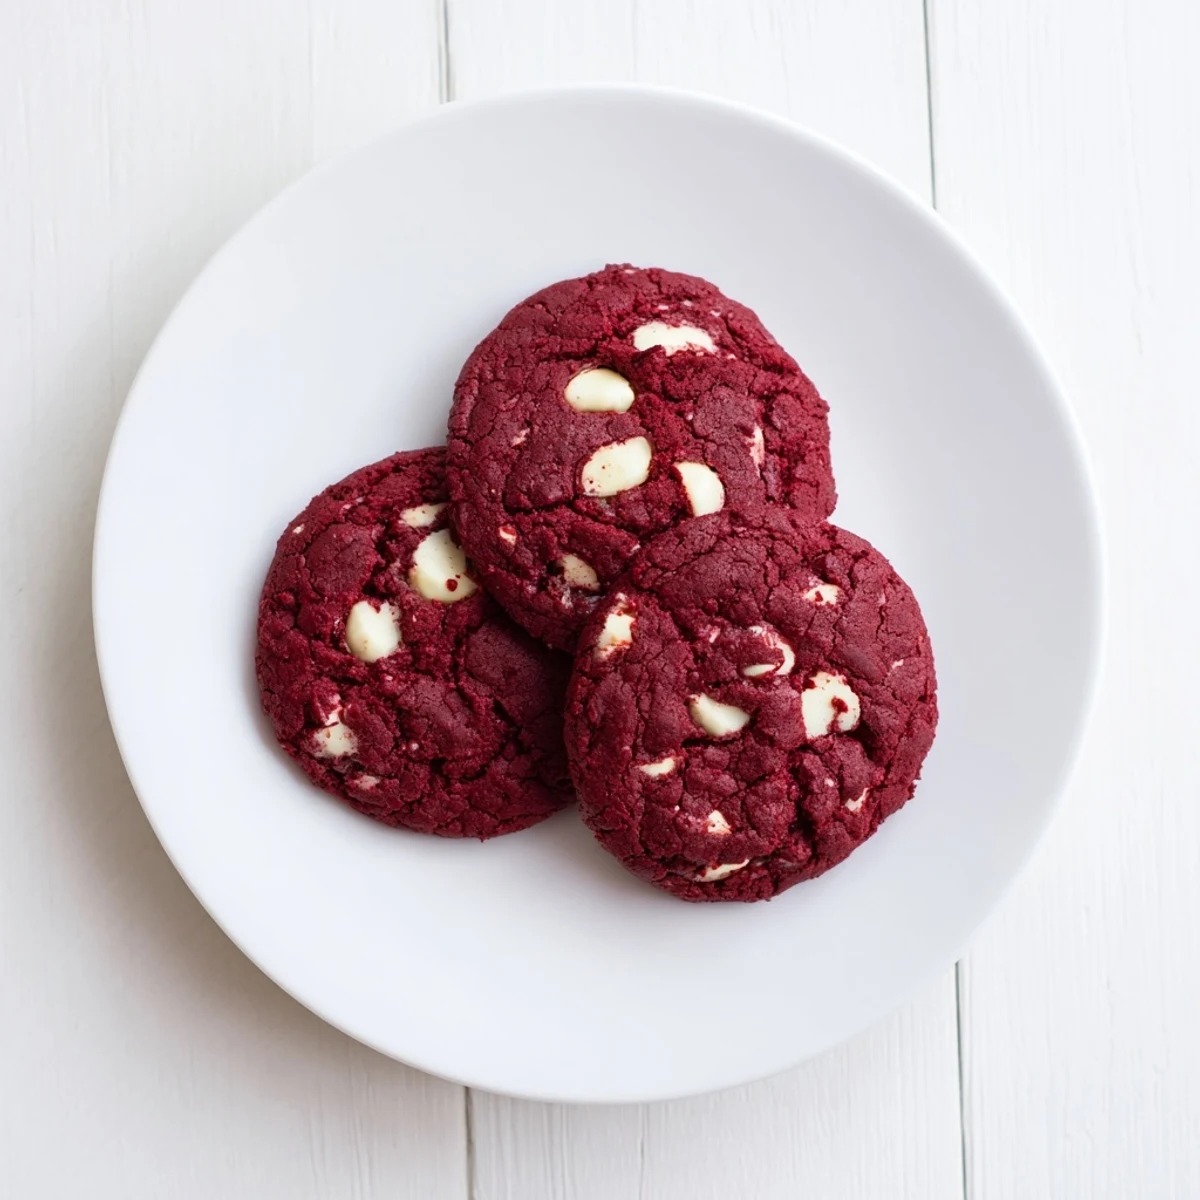
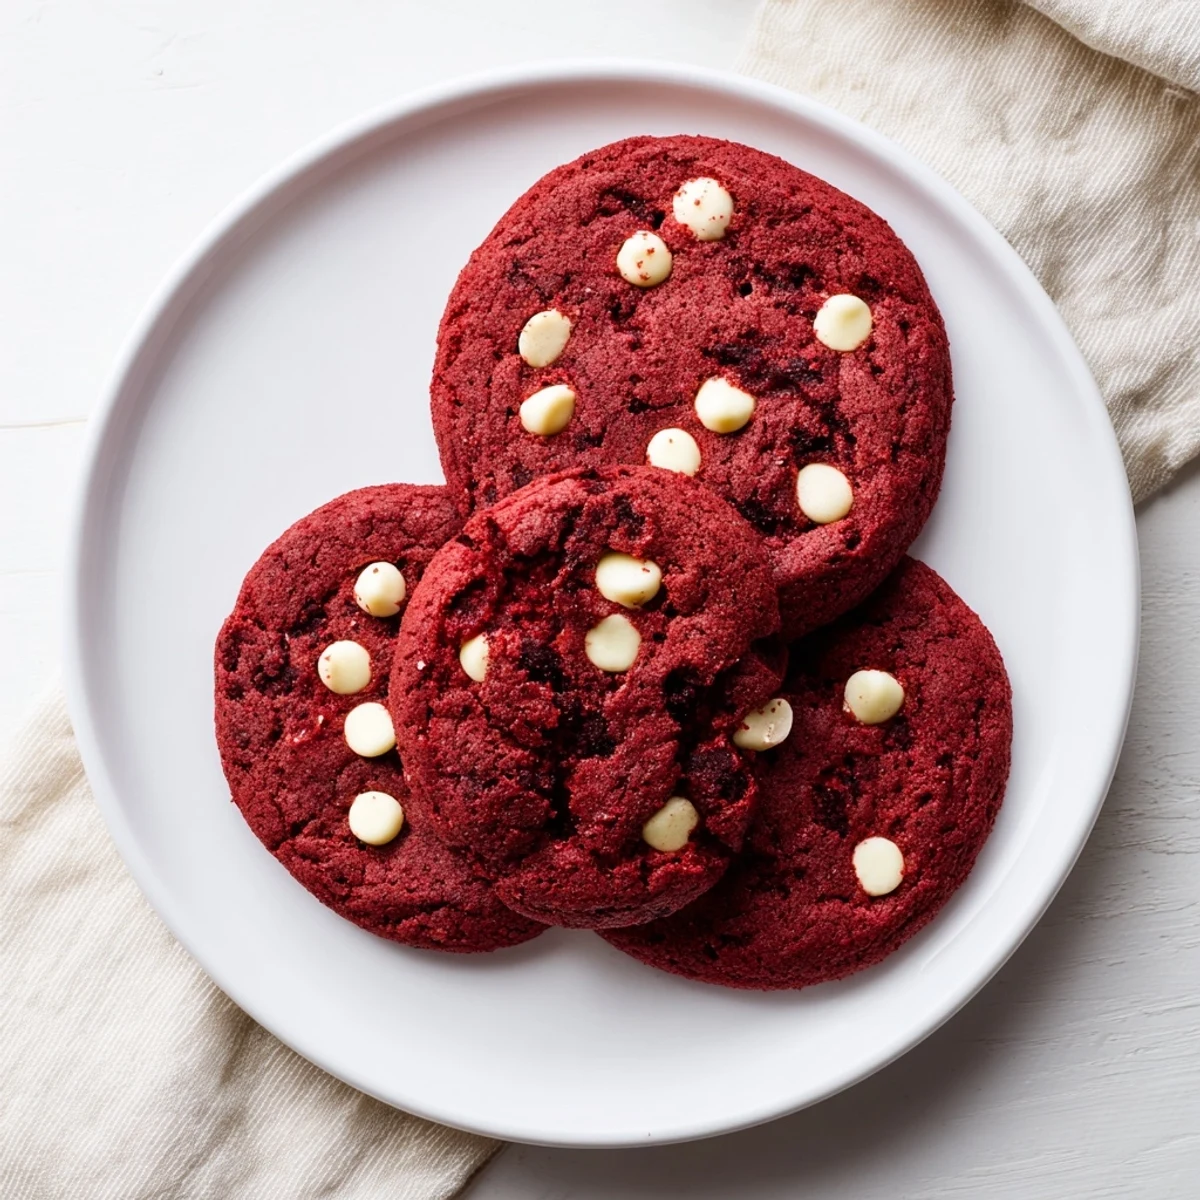
Save Create bakery-style red velvet cookies at home with this simple method. The dough combines flour, cocoa powder, and baking soda as the dry base, while butter and vegetable oil create an exceptionally tender texture. White sugar and brown sugar add depth and chewiness, while eggs provide structure. The iconic red hue comes from food coloring, enhanced by a touch of vinegar for that classic red velvet tang. White chocolate chips complement the subtle cocoa flavor perfectly. Bake for just 12 minutes until edges set but centers remain soft. Let them rest on the hot baking sheet for 5 minutes to finish cooking, then cool completely on a wire rack. The result is 24 perfectly soft, velvety cookies with the ideal balance of sweetness and tang.
My college roommate Sarah and I discovered red velvet everything during our senior year finals week. These cookies became our stress baking tradition, turning our tiny kitchen into a red stained disaster zone more than once. Something about that tangy cocoa flavor paired with creamy white chocolate just makes everything better, even a thesis deadline. I still think of late night study sessions whenever I pull a batch from the oven.
I made these for my nieces birthday party last year and watched six year olds argue over who got the last one. The birthday girl approached me afterward with chocolate smudged cheeks and whispered that these were better than the bakery cake her mom almost ordered. Kids apparently know quality red velvet when they taste it, and now I am permanently on dessert duty for every family gathering.
Ingredients
- All purpose flour: This provides the structure that keeps these cookies perfectly tender without spreading too thin
- Unsweetened cocoa powder: Just enough to give that classic red velvet depth without overpowering the delicate flavor
- Baking soda: The lift that gives these cookies their signature soft pillowy centers
- Salt: Enhances the chocolate flavor and balances the sweetness
- Unsalted butter: Room temperature butter creams perfectly with the sugars for that ideal texture
- Vegetable oil: This secret ingredient keeps the cookies soft and chewy for days
- Granulated sugar: Creates crisp edges while contributing to that beautiful crackly top
- Light brown sugar: Adds moisture and a subtle caramel note that complements the cocoa
- Large eggs: Room temperature eggs incorporate better and help create that tender crumb
- Vanilla extract: Pure vanilla extract makes all the difference here, don not skimp
- Red food coloring: Gel coloring gives the most vibrant red without adding extra liquid
- Distilled white vinegar: This reacts with the baking soda for extra tenderness and that classic red velvet tang
- White chocolate chips: Creamy white chocolate is the perfect counterpoint to the slight cocoa bitterness
Instructions
- Get everything ready:
- Preheat your oven to 350°F and line two baking sheets with parchment paper. Trust me, you will thank yourself later when cleanup takes thirty seconds instead of twenty minutes of scrubbing.
- Mix the dry stuff:
- Whisk together the flour, cocoa powder, baking soda, and salt in a medium bowl until everything looks evenly combined. Set this aside while you tackle the wet ingredients.
- Cream the butter and sugars:
- Beat the butter, oil, granulated sugar, and brown sugar together until the mixture looks light and fluffy, about 2 minutes. The oil might feel weird but it is what keeps these cookies soft for days.
- Add the eggs and flavor:
- Drop in the eggs one at a time, really beating well after each one. Mix in the vanilla, red food coloring, and vinegar until everything turns that gorgeous uniform red.
- Combine it all:
- Gradually mix in the dry ingredients just until you cannot see white flour anymore. Do not overmix or these cookies will turn tough instead of tender.
- Fold in the chocolate:
- Gently stir in those white chocolate chips until they are evenly distributed throughout the red dough. The contrast looks beautiful and tastes even better.
- Scoop and space:
- Drop about 2 tablespoons of dough onto your prepared baking sheets, leaving 2 inches between each cookie. They will spread but not excessively thanks to the perfect flour ratio.
- Bake to perfection:
- Bake for 11 to 13 minutes until the edges look set but the centers still appear slightly soft. This is the sweet spot for that ideal chewy texture.
- The waiting game:
- Let the cookies cool on the baking sheet for 5 minutes before moving them to a wire rack. This resting period helps them set without becoming hard.
 Save
Save These cookies have become my go to for bake sales, office potlucks, and cheering up friends having rough weeks. Something about that dramatic red color makes people smile before they even take a bite. I had a coworker once tell me these cookies got her through a particularly brutal Monday, and honestly, that is the highest compliment I could ever receive.
Getting That Perfect Red Color
Gel food coloring is absolutely worth seeking out over liquid drops. The gel concentrates the pigment without adding extra liquid to your dough, which could throw off the texture. Start with the called for amount and add more drop by drop until you reach your desired shade. Some days I go for a subtle pinkish red, other times I want cookies that look like they came straight from a bakery window.
Storage Secrets
These cookies stay surprisingly soft stored in an airtight container at room temperature for up to five days. The vegetable oil in the dough works magic for longevity. If you want to freeze them, I recommend scooping the dough balls and freezing them on a sheet before transferring to a bag. That way you can bake fresh cookies whenever the craving strikes, which in my house is approximately every other day.
Mix It Up
While white chocolate is traditional, these cookies are incredibly forgiving to variations. Dark chocolate chips create this sophisticated bittersweet contrast that adults especially love. Milk chocolate makes them sweeter and more kid friendly. You can even add chopped nuts or swap the vinegar for buttermilk if you want to experiment with that classic red velvet profile.
- Try adding cream cheese chunks instead of white chocolate for an even more authentic red velvet experience
- A dash of espresso powder intensifies the chocolate flavor without making these taste like coffee
- Roll the dough balls in powdered sugar before baking for a pretty snow capped look
 Save
Save These red velvet cookies have a way of making ordinary moments feel special. I hope they become your new favorite too.
Questions & Answers
- → Why is vinegar added to red velvet cookies?
-
The vinegar enhances the classic red velvet flavor profile by adding a subtle tanginess that balances the sweetness and complements the cocoa. It also helps activate the baking soda for a softer texture.
- → Can I use natural food coloring instead of gel or liquid?
-
Natural food colorings like beet juice or pomegranate juice work but may produce a more muted red color. You'll need to use more natural coloring to achieve the same vibrant hue as artificial options.
- → Why use both butter and vegetable oil?
-
Butter provides rich flavor while vegetable oil ensures the cookies stay soft and chewy for days. This combination creates the perfect texture—slightly crisp edges with a tender, velvety center.
- → How do I know when red velvet cookies are done baking?
-
The cookies are ready when edges appear set and slightly firm, but centers still look soft and underbaked. They will continue cooking on the hot baking sheet during the 5-minute resting period.
- → Can I freeze red velvet cookie dough?
-
Yes, scoop the dough onto a baking sheet and freeze until solid, then transfer to an airtight container. Freeze for up to 3 months. Bake frozen dough for 13-15 minutes, adding 1-2 minutes to the baking time.
- → What makes red velvet different from chocolate cookies?
-
Red velvet contains less cocoa than traditional chocolate cookies, resulting in a milder chocolate flavor. The addition of vinegar and buttermilk creates a distinctive tangy taste, while the red coloring gives it its signature appearance.
