 Save
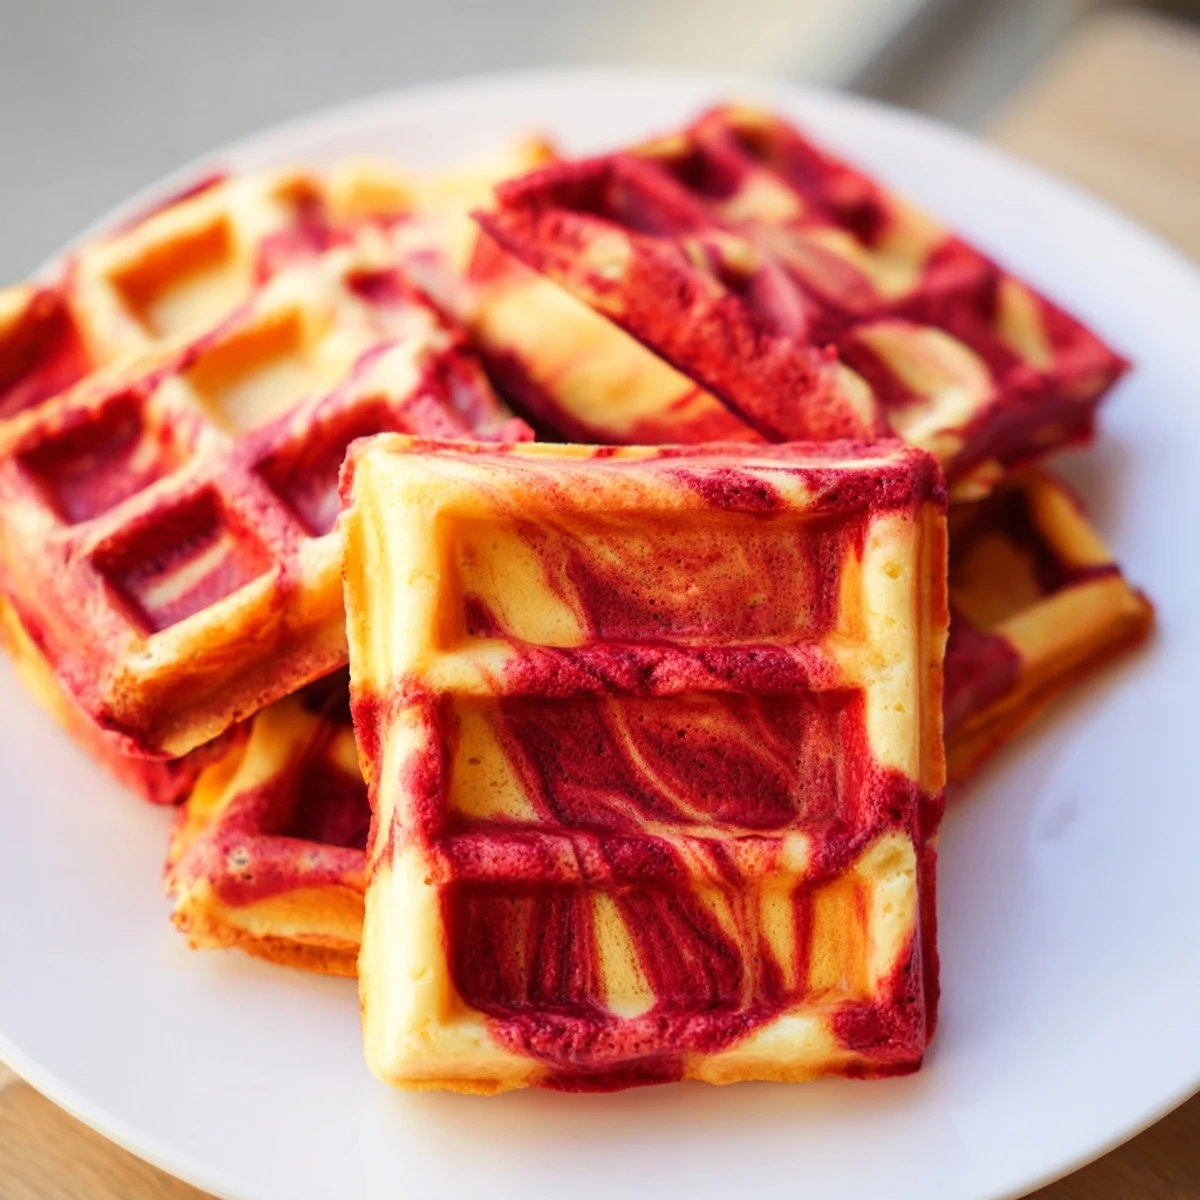
Save These eye-catching waffles combine classic red velvet flavors with traditional vanilla batter, creating gorgeous marble patterns. The preparation takes just 15 minutes, and the dual-color batter technique makes each waffle uniquely beautiful. Perfect for impressing guests at brunch or adding excitement to weekend breakfasts. The buttermilk base ensures tender, fluffy interiors while achieving crispy golden exteriors. Serve with cream cheese glaze or maple syrup for the ultimate indulgence.
My daughter begged me to make something special for her birthday breakfast last year. She'd been obsessed with red velvet cake for months, but waffles felt more like a celebration morning to me. The way these come out of the iron looking like edible art made her eyes go wide. Now they're requested for every sleepover.
I'll never forget the first time I attempted the marble technique. My kitchen looked like a crime scene with red batter everywhere, but that first waffle emerged with this gorgeous swirl pattern I didn't think possible at home. My neighbor smelled them from across the street and showed up with coffee.
Ingredients
- 2 cups all-purpose flour: Creates the tender crumb structure we want, though I've learned measuring by weight gives the most consistent waffle texture
- 2 tbsp granulated sugar: Just enough to balance the buttermilk tang without making these dessert sweet
- 2 tsp baking powder and 1/2 tsp baking soda: This combo guarantees lift and that perfect crisp exterior
- 1 3/4 cups buttermilk: Room temperature is key here, it activates the leavening and gives that signature velvet tang
- 2 large eggs: Bind everything together while adding structure and richness
- 4 tbsp unsalted butter, melted and slightly cooled: Don't use hot butter or it'll scramble your eggs when you mix them in
- 1 tsp vanilla extract: Use the good stuff since vanilla is one of the main flavor notes here
- 2 tbsp unsweetened cocoa powder: Dutch process gives the deepest color and smoothest chocolate flavor
- 1 tbsp red food coloring: Gel coloring won't thin your batter like liquid can, but either works beautifully
Instructions
- Whisk your dry foundation:
- In a large bowl, combine flour, sugar, baking powder, baking soda, and salt until everything is evenly distributed
- Blend the wet mixture:
- In another bowl, whisk buttermilk, eggs, melted butter, and vanilla until completely smooth
- Combine with a light hand:
- Gently fold wet into dry ingredients until just combined, some small lumps are perfectly fine and prevent overmixing
- Create your two batters:
- Divide evenly between bowls, whisk cocoa and red coloring into one portion, leaving the other plain
- Heat your waffle iron:
- Preheat according to your manufacturers directions and give it a quick coating of oil or nonstick spray
- Marble like an artist:
- Alternate dollops of red and vanilla batters onto the hot iron, then swirl gently with a chopstick for that signature marble pattern
- Cook to golden perfection:
- Close and cook until waffles are crisp and cooked through, usually 3 to 5 minutes depending on your iron
- Serve them warm:
- These are incredible with cream cheese glaze, maple syrup, or just fresh berries and whipped cream
 Save
Save These waffles turned a random Tuesday into something my kids still talk about months later. There's something about food that looks this special that makes people slow down and actually savor breakfast together.
Getting That Perfect Swirl
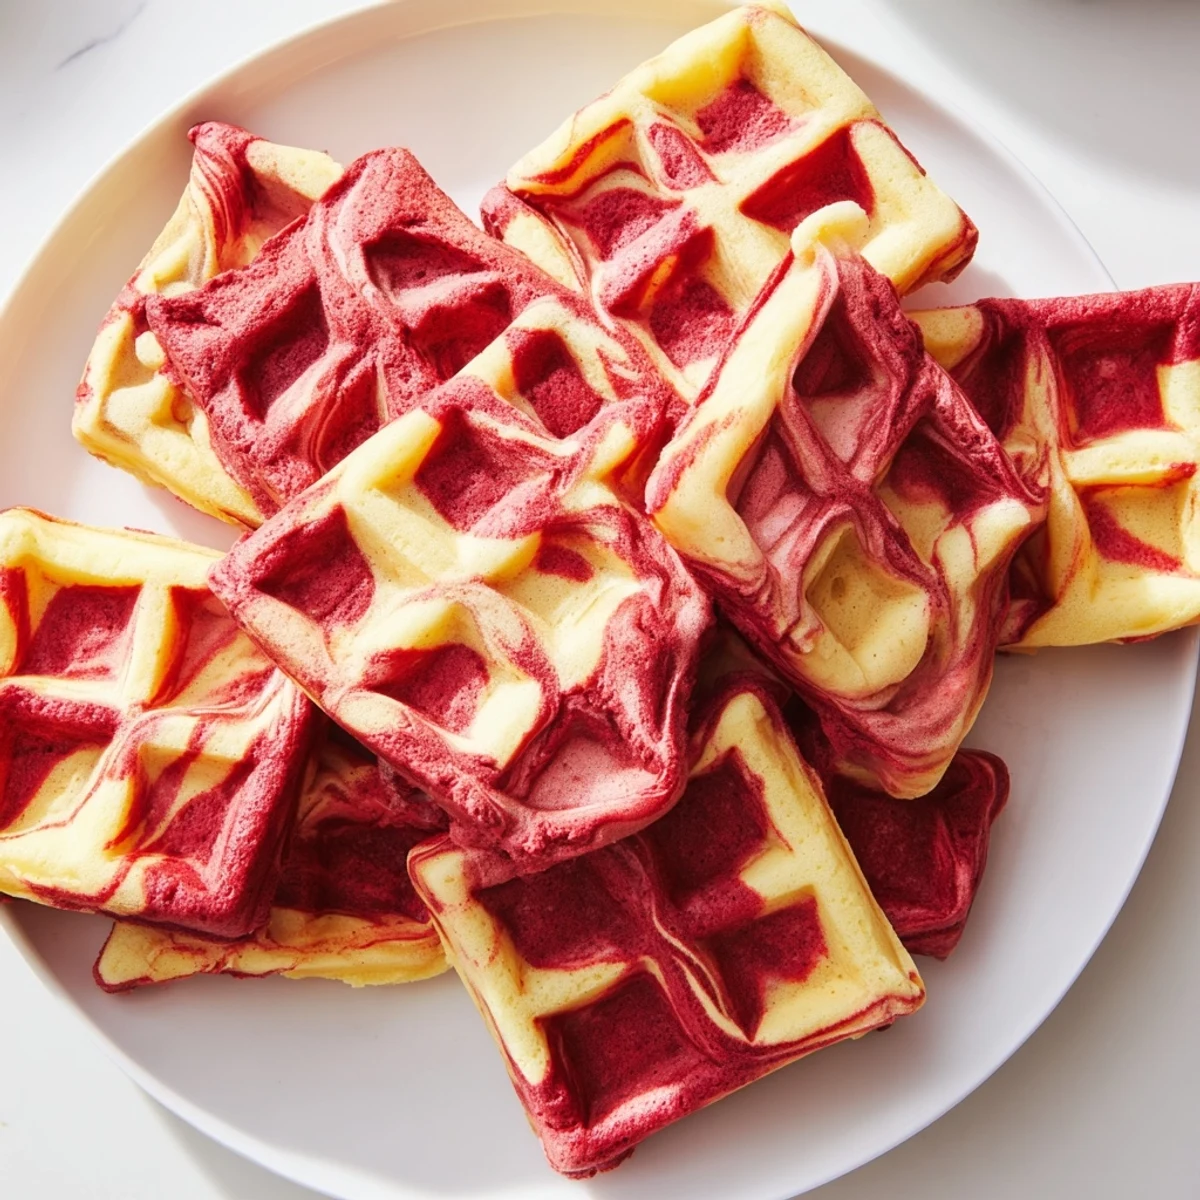
The secret to restaurant worthy marbling is using contrasting batters at the same temperature. If one is cold from the fridge and the other room temp, they won't swirl together as beautifully. I've found dolloping the batters in a checkerboard pattern creates the most dramatic effect.
Make Ahead Magic
You can actually make both batters the night before and store them separately in the fridge. The ingredients hydrate and the flavors develop even more, though you might need to thin them slightly with a tablespoon of buttermilk before cooking.
Cream Cheese Glaze Options
That classic red velvet cream cheese pairing transforms these from breakfast into dessert. Beat together 1/4 cup softened cream cheese, 2 tbsp milk, and 1/2 cup powdered sugar until smooth, then drizzle generously.
- Warm the glaze slightly for easier pouring
- Add a splash of vanilla for extra depth
- Thin with more milk if it's too thick to drizzle
 Save
Save Hope these bring some unexpected joy to your morning table. There's something magical about starting the day with something this beautiful.
Questions & Answers
- → How do I achieve the marble effect?
-
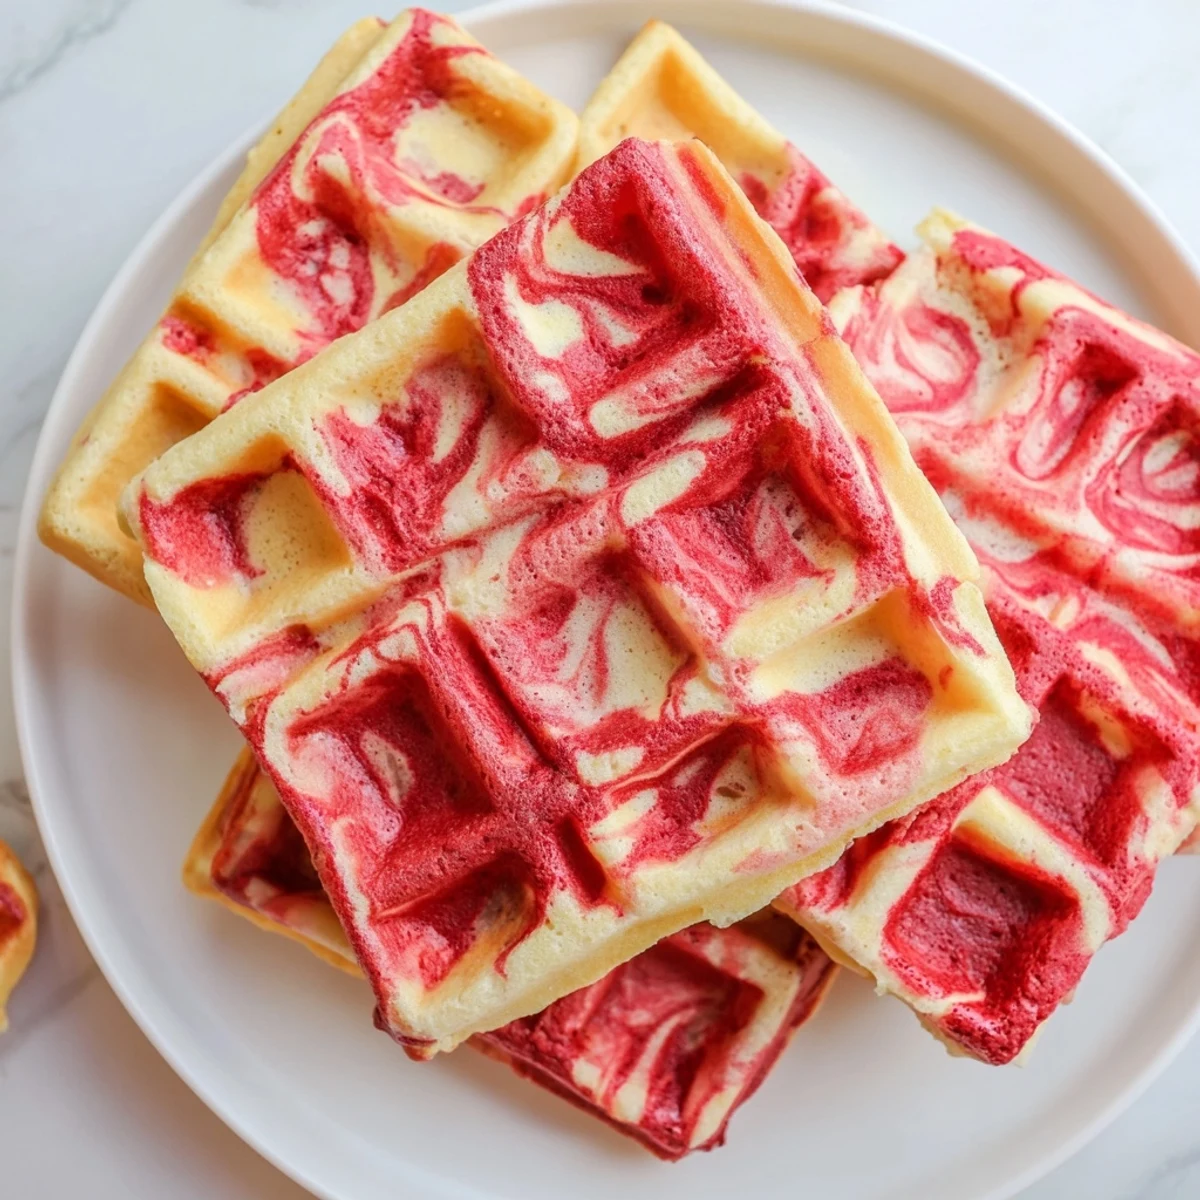
Alternate spoonfuls of red velvet and vanilla batters onto your waffle iron, then gently swirl with a chopstick or knife. Don't over-swirl or the colors will blend completely rather than creating distinct marbled patterns.
- → Can I make the batter ahead of time?
-
Yes, prepare both batters and store them separately in covered bowls in the refrigerator for up to 24 hours. Let them come to room temperature for 15 minutes before cooking.
- → What can I use instead of buttermilk?
-
Greek yogurt thinned with a splash of milk works perfectly. Alternatively, make a buttermilk substitute by adding 1 tablespoon of vinegar or lemon juice to regular milk and letting it sit for 5 minutes.
- → How do I store leftover waffles?
-
Cool completely, then freeze in a single layer before transferring to a freezer bag. Reheat in a toaster or 350°F oven for 5 minutes to restore crispness.
- → Can I reduce the food coloring?
-
Yes, start with half the amount and add more until you reach your desired shade. Beet juice powder makes a natural alternative to liquid or gel coloring.
- → What toppings work best?
-
Cream cheese glaze complements the flavors beautifully, but maple syrup, fresh berries, whipped cream, or even chocolate sauce all make excellent choices.
