 Save
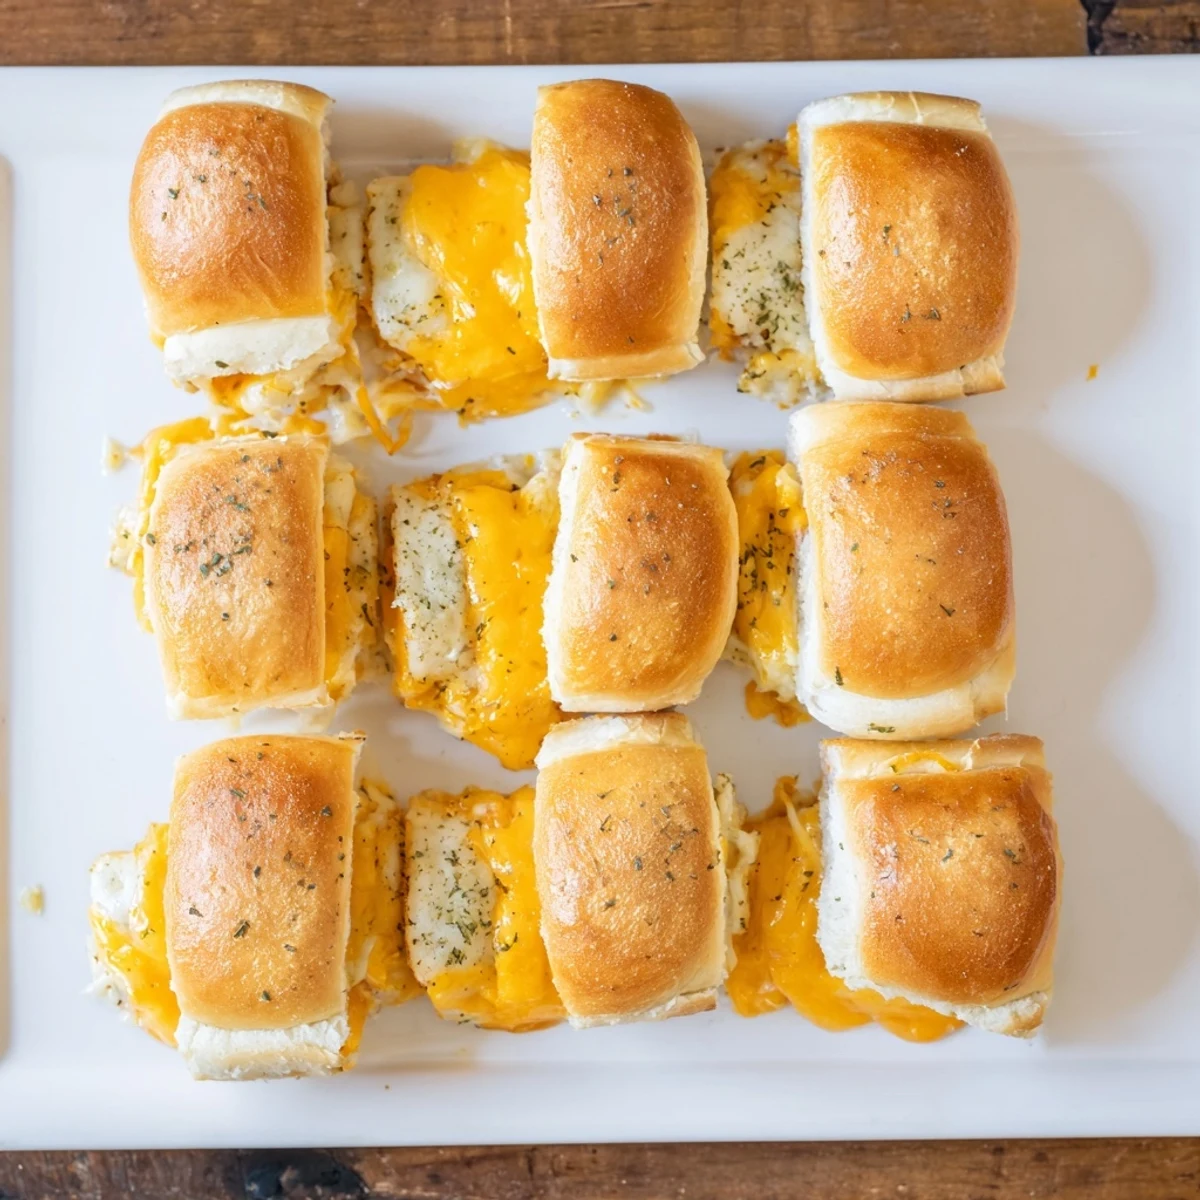
Save These bite-sized sliders transform sweet Hawaiian rolls into irresistibly cheesy snacks. The rolls stay attached while baking, creating an easy-to-serve presentation perfect for gatherings. A garlic-parsley butter brushed across the tops adds savory depth that balances the sweet bread, while cheddar melts into every crevice.
Ready in just 25 minutes with only 10 minutes of prep, these make excellent party appetizers, after-school snacks, or comfort food for any occasion. The golden, crispy tops give way to soft, buttery interiors with layers of melted cheese.
My friend Sarah brought these to a game night last winter and I honestly hovered near the platter the entire evening. Something about that sweet Hawaiian bread getting all cozy with melted cheese just pulls you in. I've been making them for every casual gathering since, and they disappear faster than I can slice them.
Last month my daughter requested these for her birthday instead of cake, which honestly made me weirdly proud. Her friends kept asking where I bought them, and watching their faces when I said I made them myself was such a mom moment.
Ingredients
- 12 Hawaiian rolls: The slight sweetness makes these special, but regular slider buns work if that's what you have
- 12 slices cheddar cheese: I've tried fancy cheeses but good old sharp cheddar gives the best nostalgic pull
- 4 tablespoons unsalted butter, melted: Don't skip the butter wash on top, it's what creates that gorgeous golden finish
- 1 teaspoon garlic powder: Adds just enough savory depth to balance the sweet rolls
- 1 teaspoon dried parsley: Totally optional but makes them look pretty and adds a fresh herbal note
- 1/4 teaspoon salt: Enhances all the flavors without making them salty
Instructions
- Get your oven ready:
- Preheat to 350°F and grab a baking dish that'll fit all your rolls snugly together
- Prep the rolls:
- Carefully slice the whole slab of rolls in half horizontally, keeping them connected like a little family
- Layer the cheese:
- Place the bottom halves in your dish and drape cheese slices over each roll, letting them hang over the edges a bit
- Reunite the sandwich:
- Gently press the tops back down, then whisk together your melted butter, garlic powder, parsley, and salt
- Butter and bake:
- Brush that seasoned butter all over the tops until they're glistening, then bake for 12 to 15 minutes until everything's melty and golden
- Serve them up:
- Let them cool for just a couple minutes so the cheese sets slightly, then slice into individual sandwiches
 Save
Save These have become my go-to when friends say just bring something small because somehow they never stay small for long. Watching people bite into that first warm, cheesy crunch is the best part of hosting.
Make Ahead Magic
You can assemble everything the night before and keep it covered in the fridge, just add the butter mixture right before baking. I've done this for brunch prep and they turned out perfectly.
Cheese Swap Ideas
While cheddar is the classic choice, I've had great luck with pepper jack for a kick, or mixing half cheddar with half mozzarella for extra melt factor. The butter mixture works with pretty much any cheese you love.
Serving Suggestions
These shine on their own but I love serving them with a warm bowl of tomato soup for dunking. They're also perfect alongside a crisp green salad to balance all that rich, cheesy goodness.
- Try sprinklining everything bagel seasoning on top for extra crunch
- A tiny drizzle of honey after baking plays up the sweet and salty vibe
- Keep any leftovers refrigerated and reheat in a 300°F oven for 5 minutes
 Save
Save There's something about these little sandwiches that makes people happy, and isn't that the whole point of feeding people anyway?
Questions & Answers
- → Can I make these ahead of time?
-
Assemble the sliders up to 24 hours in advance, cover tightly, and refrigerate. Add the butter mixture just before baking. They reheat beautifully at 350°F for 5-7 minutes.
- → What cheeses work best?
-
Sharp cheddar provides classic flavor, but Gruyère, provolone, Swiss, or pepper jack melt wonderfully. For ultimate creaminess, try mixing mozzarella with a sharper cheese.
- → Should I separate the rolls before baking?
-
Keep the rolls connected while baking for easier handling and a cohesive presentation. Slice into individual portions after baking when they're stable and easier to cut cleanly.
- → Can I add meat to make them more substantial?
-
Layer thin slices of ham, turkey, or cooked bacon between the cheese and rolls. Deli meats pair perfectly with the sweet Hawaiian bread and melted cheddar.
- → How do I store leftovers?
-
Store in an airtight container in the refrigerator for up to 3 days. Reheat in a 350°F oven until warmed through and cheese melts again, about 8-10 minutes.
- → What should I serve with these sliders?
-
Tomato soup creates a classic dunking combination. They also pair well with Caesar salad, vegetable crudité, or as part of a larger appetizer spread for parties and gatherings.
