 Save
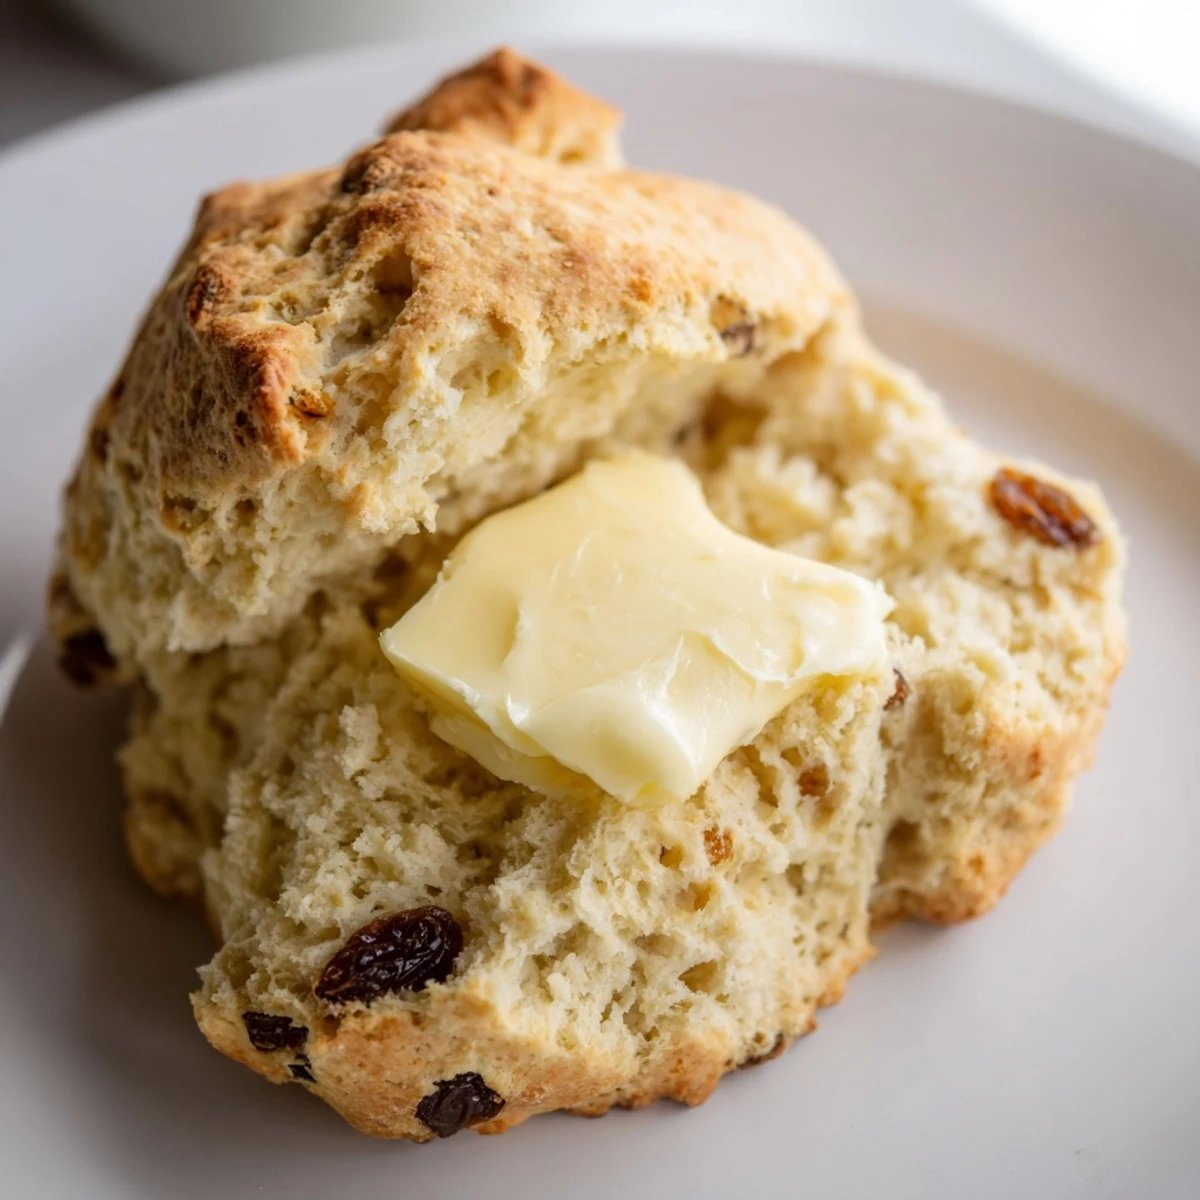
Save This dish features tender Irish soda bread scones with a golden crust and soft, fluffy interior. Made from simple pantry ingredients including flour, buttermilk, and a touch of sugar, these scones bring a comforting, rustic charm to the table. Optional raisins add a subtle sweetness. After mixing wet and dry components gently, dough is shaped and cut before baking to a warm, golden finish. Best served fresh and warm, topped with softened butter, they offer a satisfying start to any morning or cozy afternoon bite.
The first time I made these scones was on a drizzly Sunday morning when my kitchen felt like the only warm place in the world. I had been craving something comforting and rustic, something that didn't require hours of kneading or waiting for dough to rise. The smell of buttermilk and baking soda hitting the flour transported me straight to my grandmother's tiny kitchen in County Cork, where she'd whip up soda bread without even measuring. Now these scones are my go-to when I need that same instant comfort.
Last winter, my neighbor Sarah popped over just as these were coming out of the oven. She'd been walking her dog in the snow and looked absolutely frozen. We sat at my kitchen table breaking open warm scones, watching steam curl into the air, and she told me about her childhood in Dublin. Something about the simple ritual of buttering warm bread makes people share stories they didn't know they were holding onto.
Ingredients
- All-purpose flour (250 g): The structure that holds everything together; don't pack it down when measuring
- Granulated sugar (2 tbsp): Just enough to hint at sweetness without making these dessert-like
- Baking soda and baking powder: The double lift that creates that signature fluffy texture
- Salt (1/2 tsp): Essential for balancing flavor and enhancing the buttermilk's tang
- Raisins or currants (optional, 75 g): Little pockets of sweetness that burst when you bite into them
- Buttermilk (240 ml), cold: The acid that activates the soda and creates tenderness; keep it frigid
- Large egg: Adds richness and helps bind the dough together
- Unsalted butter (60 g), melted and cooled: Contributes to that golden crust and tender crumb
- Extra butter for serving: Non-negotiable in my house; these deserve to be slathered
Instructions
- Preheat your sanctuary:
- Heat that oven to 400°F (200°C) and line a baking sheet with parchment paper; this sets the stage for everything that follows
- Whisk the dry foundation:
- In a large bowl, combine flour, sugar, baking soda, baking powder, and salt until perfectly blended, then fold in the raisins if you're using them
- Blend the wet mixture:
- In another bowl, whisk the cold buttermilk, egg, and melted butter until the mixture is smooth and uniform
- Bring them together gently:
- Pour the wet ingredients into the dry and fold with a spatula until just combined; the moment the flour disappears, stop completely
- Shape without overthinking:
- Turn the dough onto a lightly floured surface and pat it into a 1-inch-thick round; treat it like you're handling something precious
- Cut and arrange:
- Use a floured 2.5-inch cutter to cut scones and place them on your prepared baking sheet; gather scraps gently and repeat
- Bake until golden:
- Slide them into the oven for 16 to 18 minutes until they're beautifully bronzed and a toothpick comes out clean
- Serve them warm:
- Let them cool just long enough to handle, then break them open while still steaming and add that generous pat of butter
 Save
Save My daughter now requests these for every special breakfast, especially on birthdays before school. There's something about the ritual of cutting them out, each one slightly imperfect, that makes the morning feel intentional and loved. Last week she told me these scones taste like hugs, and honestly, I can't think of a better description.
Making Them Your Own
Brush the tops with extra buttermilk before baking for an even glossier finish. Sometimes I add orange zest to the dry ingredients, and the citrus notes somehow make everything feel brighter. You can swap half the flour for whole wheat if you want something nuttier and more substantial.
The Secret to Rise
Your oven needs to be fully hot before these scones go in; the initial blast of heat is what creates that impressive lift. I've learned the hard way that opening the oven door too early can make them collapse. Trust the process and let them bake undisturbed until they're properly golden.
Storage and Sharing
These are best eaten the day they're made, but I've been known to wrap leftovers tightly and reheat them in the oven the next morning. They freeze beautifully if you want to double the batch and save half for another rainy day.
- Wrap cooled scones individually in plastic wrap before freezing
- Reheat frozen ones directly in a 350°F oven for about 10 minutes
- Never microwave them or you'll lose that precious crispy crust
 Save
Save I hope these bring as much warmth to your kitchen as they've brought to mine over the years. There's something profoundly satisfying about transforming simple ingredients into something that feels like a memory in the making.
Questions & Answers
- → What makes these scones different from traditional ones?
-
These scones are inspired by Irish soda bread, using baking soda and powder for a tender, fluffy texture and a slightly tangy flavor from buttermilk.
- → Can I add fruit to the dough?
-
Yes, adding raisins or currants is optional and adds a sweet, chewy contrast to the rustic crumb.
- → How should I store leftover scones?
-
Store cooled scones in an airtight container at room temperature for up to two days, or freeze for longer storage.
- → Is there a way to make the crust extra golden?
-
Brushing the tops with buttermilk before baking promotes a golden, slightly crisp crust.
- → Can I substitute whole wheat flour?
-
Yes, replacing half the all-purpose flour with whole wheat flour gives a heartier texture and nuttier flavor.
