 Save
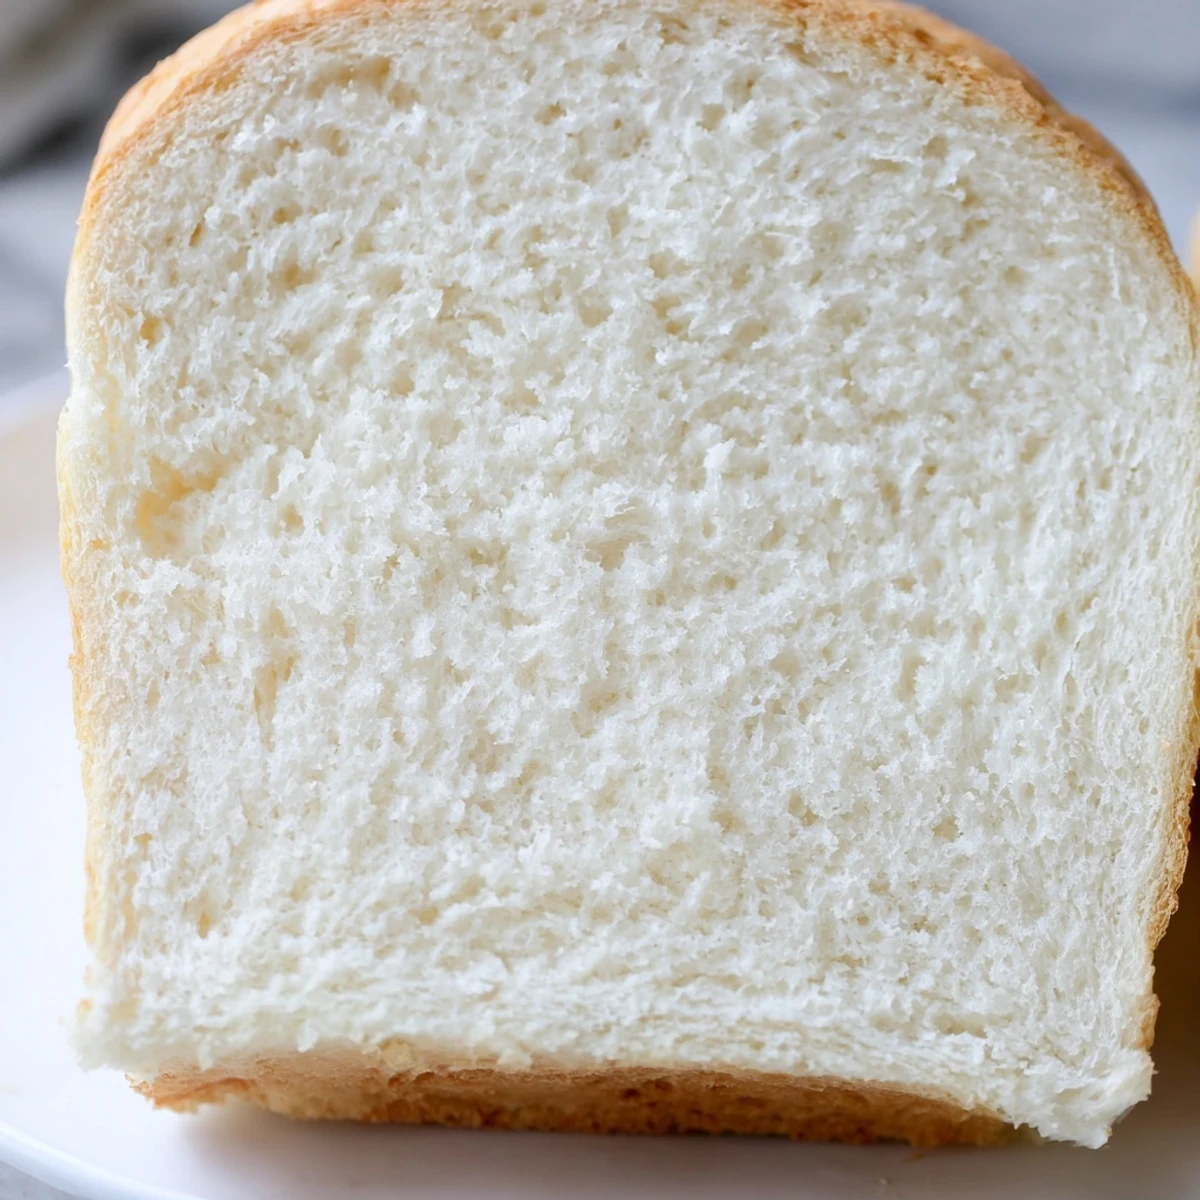
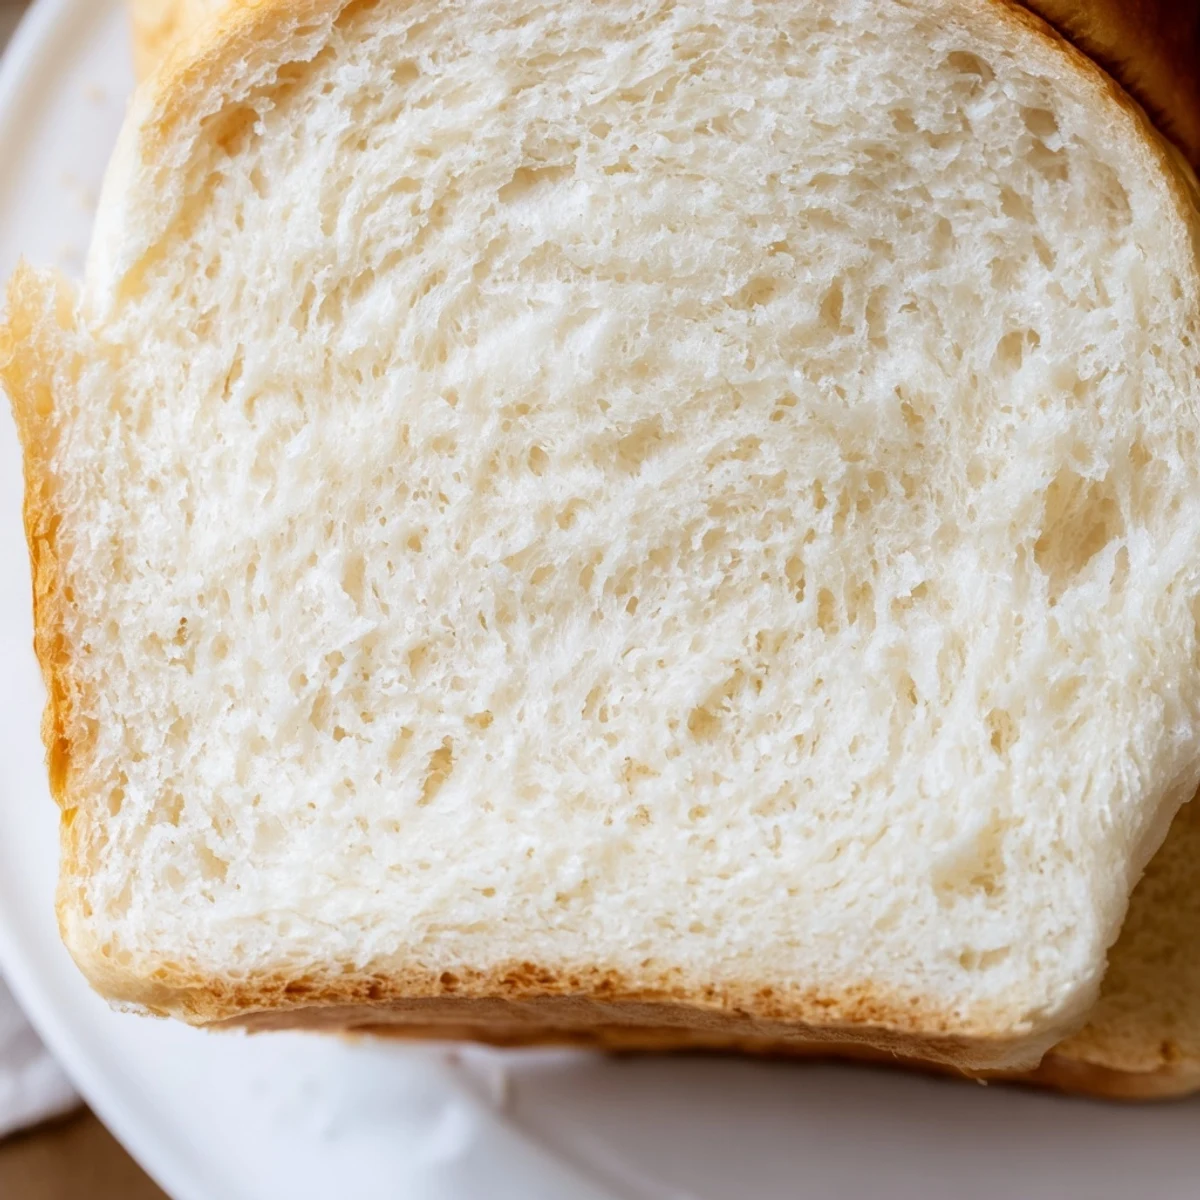
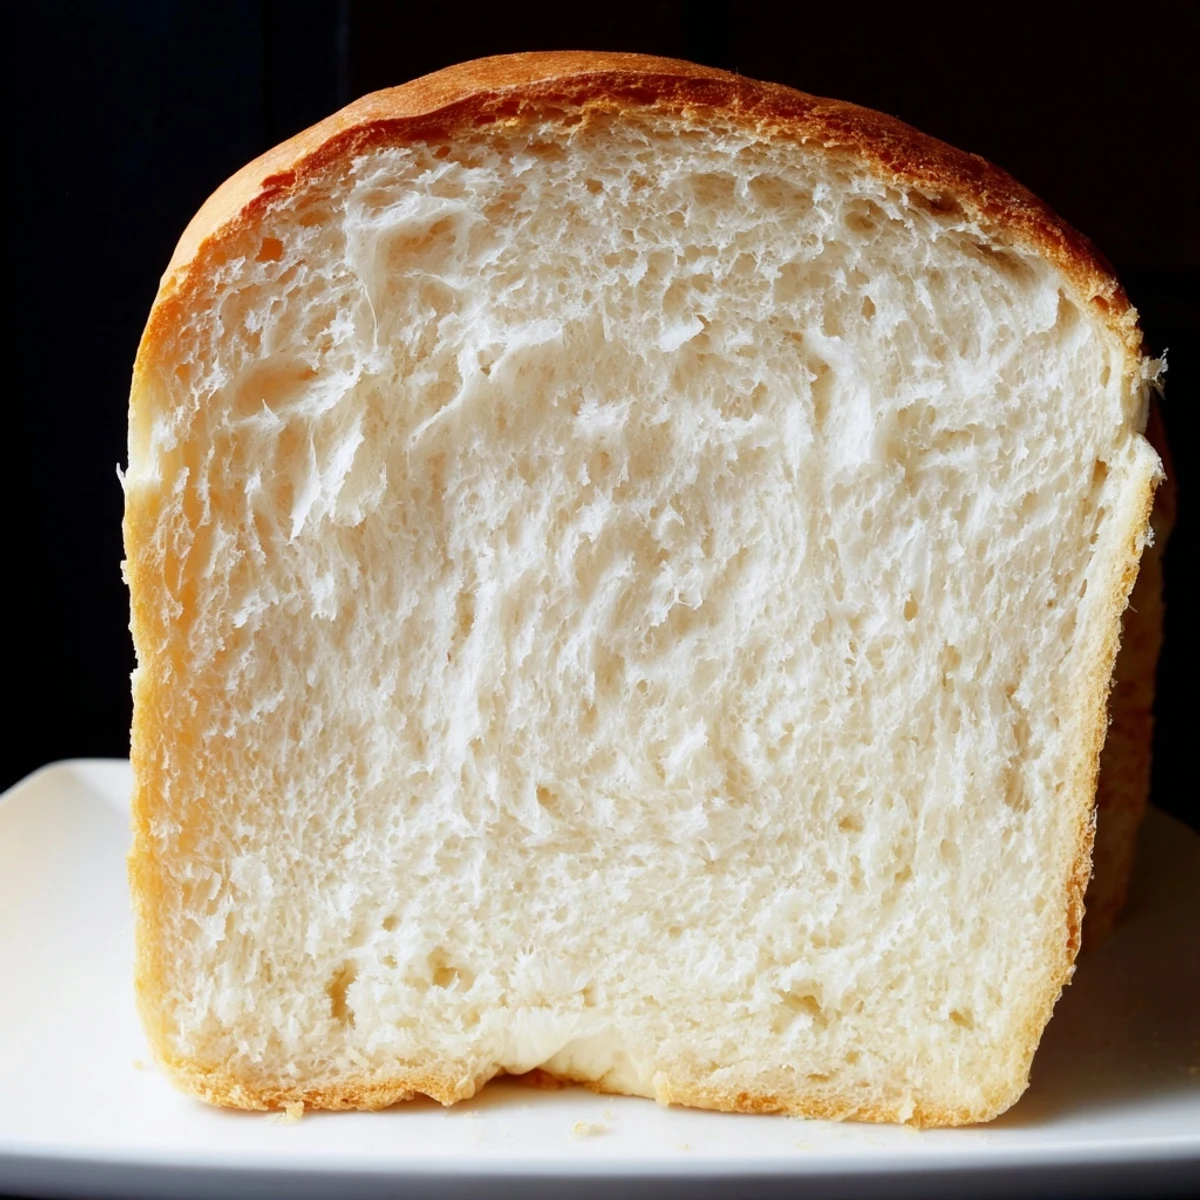
Save Create two beautiful loaves of tender, slightly sweet white bread using traditional Amish baking methods. This straightforward dough comes together with just six pantry staples and requires minimal hands-on time.
The magic lies in the simple technique of letting the yeast activate in warm, sweetened water before gradually incorporating flour. The result is an incredibly soft interior with a golden, butter-brushed crust that's perfect for everyday meals.
Whether you're slicing it for sandwiches, toasting it for breakfast, or enjoying it fresh from the oven with melting butter, this versatile loaf delivers bakery-quality results at home. The dough freezes beautifully, so you can always have fresh-baked bread ready.
There is something almost magical about the smell of bread baking that pulls everyone into the kitchen. I started making this Amish white bread on a particularly gloomy winter weekend when the house felt too quiet and empty. The first time those two golden loaves emerged from the oven, steam curling off the crust, my roommate appeared from nowhere with a knife already in hand. Now this recipe has become my go-to for bringing warmth into any home.
I remember bringing a fresh loaf to a potluck dinner and watching it disappear before anyone even touched the main dishes. Someone asked if I had secretly bought it from a bakery, which made me laugh because this dough practically makes itself. The way the honey sweetness lingers behind each bite has turned several self-professed carb skeptics into bread believers.
Ingredients
- 2 cups warm water (110°F): This temperature activates your yeast without killing it, think bathwater warm but not hot enough to burn
- 2/3 cup granulated sugar: Feeds the yeast and creates that subtle sweetness that makes this bread so addictive
- 1 1/2 tablespoons active dry yeast: The magic ingredient that makes everything rise and develop those beautiful air pockets
- 1 1/2 teaspoons salt: Enhances flavor and helps control the fermentation process
- 1/4 cup vegetable oil: Keeps the bread tender and gives it a softer crumb, though melted butter works beautifully too
- 5 1/2 to 6 cups all-purpose flour: Start with less and add more as needed, humidity and weather affect how much flour your dough will want
- 1 tablespoon melted butter for brushing: Optional but creates that gorgeous bakery style sheen on the finished crust
Instructions
- Wake up the yeast:
- Dissolve the sugar in warm water, then sprinkle the yeast on top and let it sit until foamy, about 5 to 10 minutes
- Mix the dough:
- Stir in the salt and oil, then gradually add flour one cup at a time, mixing until the dough pulls away from the bowl sides
- Knead it out:
- Turn the dough onto a floured surface and knead for 6 to 8 minutes until it feels smooth and elastic, like a new stress ball
- First rise:
- Place the dough in a greased bowl, cover, and let it rise in a warm spot until doubled, about 1 hour
- Shape your loaves:
- Punch down the dough gently, divide it in half, and shape each piece into a loaf before placing in greased 9x5 inch pans
- Second rise:
- Cover the pans and let the dough rise again until it creeps about 1 inch above the pan rim, 30 to 45 minutes
- Bake to perfection:
- Bake at 350°F for 25 to 30 minutes until golden brown and the loaves sound hollow when tapped on the bottom
- The finishing touch:
- Brush with melted butter while warm, then cool on a wire rack before slicing
 Save
Save This bread became a Sunday ritual in my apartment, with the timer going off just as friends started arriving for dinner. There is something deeply satisfying about slicing into a loaf you made with your own hands, watching butter melt into the warm surface.
Mastering the Dough
Learning to read dough is like learning a new language, and this recipe is the perfect teacher. When the dough reaches the right consistency during kneading, it will feel alive and spring back when you press it. I spent years making dense bricks before understanding that slightly tacky dough beats dusty dry dough every single time.
Variations That Work
Once you have mastered the basic recipe, small changes can create completely different experiences. Replacing half the water with milk creates a richer, slightly sweeter loaf that toasts beautifully. Adding a tablespoon of honey alongside the sugar introduces a subtle floral note that pairs wonderfully with sharp cheddar cheese.
Storage and Freshness
This bread stays surprisingly fresh, though in my house it rarely lasts more than two days. The dual loaf design means you can keep one out and freeze one whole for later. Wrap cooled loaves tightly in plastic and store at room temperature for up to 4 days, or freeze for up to 3 months.
- Never refrigerate homemade bread, it actually stales faster in the cold
- Slice before freezing if you plan to use it for toast or sandwiches
- Revive slightly stale bread by sprinkling with water and warming in a 350°F oven for 10 minutes
 Save
Save Bread making has taught me patience, observation, and the joy of sharing something made with my own hands. I hope this recipe brings as much warmth to your kitchen as it has to mine.
Questions & Answers
- → What makes Amish white bread different from regular white bread?
-
Amish white bread typically has a slightly sweeter taste and softer texture than standard white bread, achieved through a higher sugar content and the addition of oil or butter in the dough.
- → Can I use whole wheat flour instead of all-purpose?
-
You can substitute up to half of the all-purpose flour with whole wheat flour, though the loaf will be denser and less fluffy. For best results, use white whole wheat flour or vital wheat gluten to maintain texture.
- → How do I know when the bread is fully baked?
-
The bread is done when the crust is golden brown and the loaves sound hollow when tapped on the bottom. You can also use an instant-read thermometer—finished bread should register 190-200°F internally.
- → Why did my dough not rise?
-
Common causes include water that's too hot (killing the yeast) or too cold (slowing activation), expired yeast, or a cold rising environment. Ensure water is around 110°F and find a warm, draft-free spot for rising.
- → Can I make this bread without a stand mixer?
-
Absolutely. This dough was traditionally made by hand. Simply mix with a wooden spoon until it becomes too stiff, then turn it onto a floured surface and knead by hand for 8-10 minutes until smooth and elastic.
- → How should I store the baked loaves?
-
Once completely cooled, store loaves in an airtight bag or container at room temperature for up to 4 days. For longer storage, slice and freeze in freezer bags—individual slices thaw quickly for toast or sandwiches.
