 Save
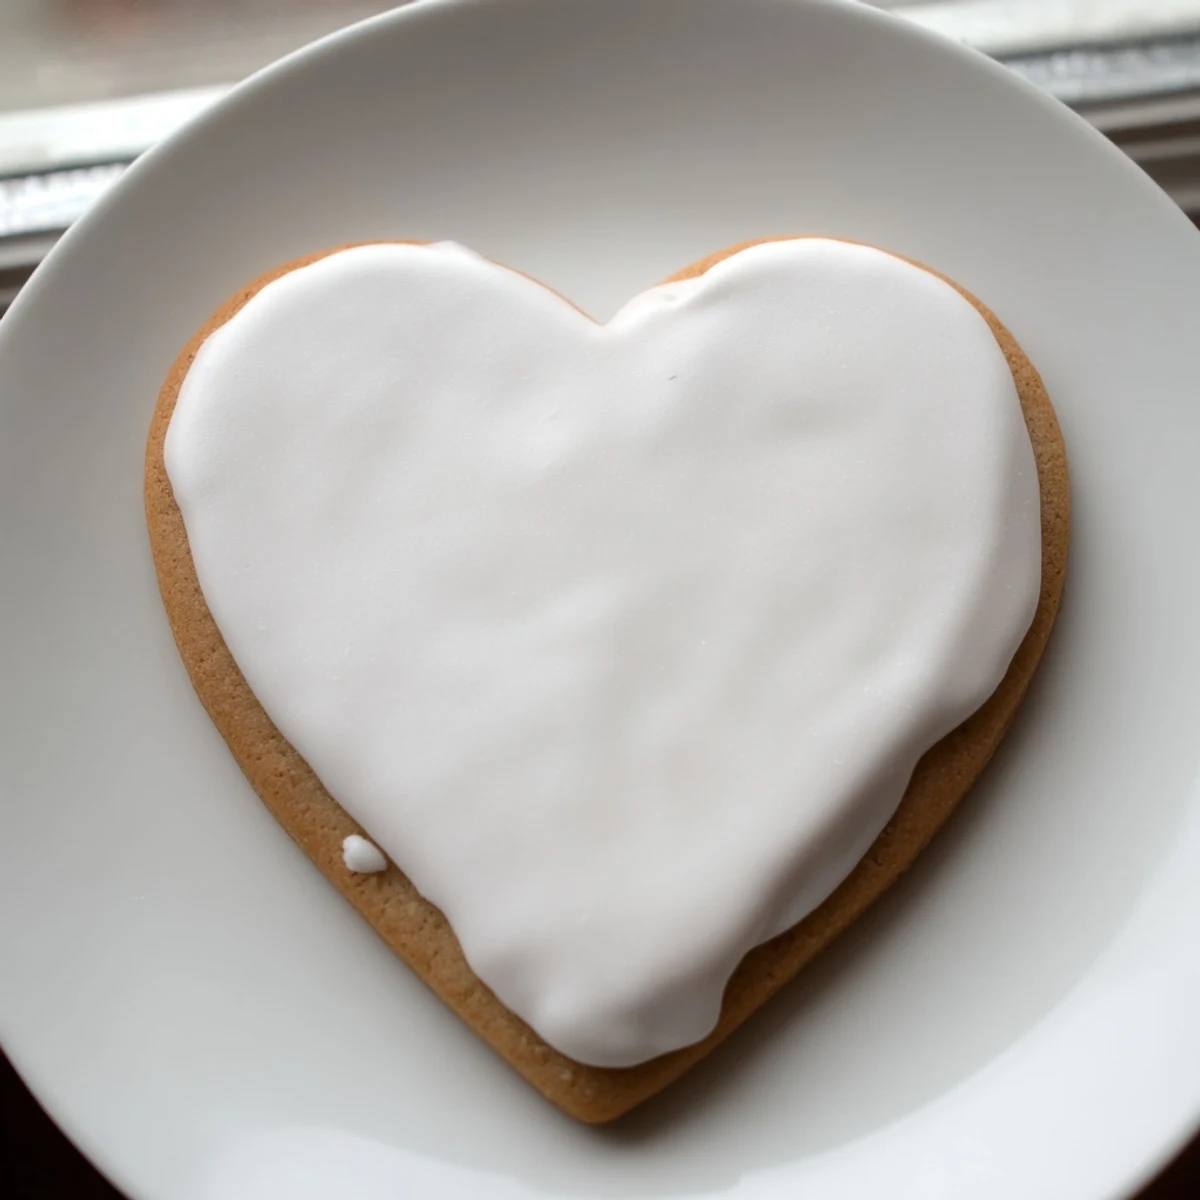
Save Create elegant heart-shaped sugar cookies with a buttery, tender crumb and stunning royal icing decoration. This classic dessert combines simple pantry ingredients—flour, butter, sugar, and vanilla—with foolproof piping techniques for impressive results.
The process involves creaming butter and sugar, mixing in dry ingredients, chilling the dough, and cutting with a heart-shaped cutter. Bake until golden edges form, then decorate with silky royal icing tinted in your choice of colors. Perfect for Valentine's Day, weddings, or any celebration.
The kitchen window was frosted with February chill when I first attempted these heart cookies with my grandmother's recipe box open beside me. Her handwritten notes promised 'cookies that hold their shape,' and I found myself tracing the yellowed paper while the mixer hummed. Something magical happens when that first batch emerges from the oven, perfectly crisp at the edges yet tender within – a buttery canvas awaiting royal icing's sweet embrace.
Last Valentine Day, I surprised my partner with a small box of these cookies, each one decorated with inside jokes and tiny messages in colored icing. The kitchen counter had looked like a disaster zone with powdered sugar footprints tracked across the floor, but seeing his face light up made every sticky countertop worth it. We ended up saving one cookie, the one with our initials, in the freezer as a silly memento.
Ingredients
- Unsalted Butter: Make sure its properly softened but not melty or your dough will be too sticky to work with.
- Meringue Powder: This magical ingredient gives royal icing its signature hardening quality without raw eggs, and I learned it keeps much better than traditional egg white icing.
- All-Purpose Flour: I once tried cake flour thinking it would make softer cookies, but the dough became too delicate to handle, so stick with regular all-purpose for the perfect balance.
- Vanilla Extract: Splurge on pure vanilla extract rather than imitation for that rich, authentic warmth that makes these cookies smell like heaven.
Instructions
- Prep your dough:
- Whisk the flour, baking powder, and salt in one bowl while creaming butter and sugar in another until it looks like fluffy clouds. Youll know the butter and sugar are properly creamed when the mixture lightens in color and appears almost whipped.
- Mix and chill:
- After adding the egg and vanilla, incorporate your dry ingredients gradually until everything comes together in a smooth dough. The chilling step isnt optional, trust me on this one, as those butter flecks need time to firm up again.
- Roll with confidence:
- Dust your surface with just enough flour to prevent sticking, but not so much that the dough becomes dry. I like to roll between two sheets of parchment for zero-stress transfer to baking sheets.
- Watch the edges:
- These cookies bake quickly, so dont wander off! Look for just the slightest golden hue at the edges, not across the entire cookie.
- Mix royal icing properly:
- Start your mixer on low to avoid a powdered sugar snowstorm in your kitchen. The icing should form stiff peaks that hold their shape when lifted with a spoon.
- Decorate with patience:
- For professional-looking cookies, pipe an outline first with slightly thicker icing, then flood the interior with thinned icing. Let each layer set before adding details on top.
 Save
Save My niece visited last spring and we spent an afternoon making these cookies shaped like flowers instead of hearts. She concentrated so intently on her wobbly lines of pink icing, tongue poking out the corner of her mouth. After they dried, she insisted on arranging them on a plate for dinner, announcing to everyone they were too pretty to eat but then promptly gobbling three herself with milk dribbling down her chin.
Storing Your Masterpieces
I once made the mistake of storing freshly decorated cookies in the refrigerator, which caused the colors to bleed and the icing to become tacky. Instead, allow them to dry completely undisturbed for at least 8 hours in a single layer before stacking them with parchment paper between layers in an airtight container. Some of my best decorated cookies have lasted nearly two weeks this way, though they rarely survive that long in my household.
Troubleshooting Common Issues
One December I was determined to make these for a cookie exchange despite the unusually humid weather, and the royal icing refused to set properly. After some research and experimentation, I discovered adding an extra tablespoon of meringue powder helps in humid conditions, while in very dry winter air, you might need additional water drops to achieve the right consistency. Remember that royal icing dries through evaporation, so environmental factors really do matter.
Personalizing Your Cookies
These heart cookies become even more special when you make them uniquely yours with creative touches that reflect your personal style or the occasion. My friend who works as a florist taught me to press edible dried flowers into the dough before baking for a gorgeous natural decoration that requires no icing at all.
- For a rustic look, mix a tiny amount of cocoa powder into some royal icing to create an antique or vintage effect on white backgrounds.
- Write personal messages using the thinnest consistency royal icing in a paper cone with just the tiniest snip off the end for delicate handwriting.
- Create a marbled effect by dotting wet icing with another color and gently swirling with a toothpick before it sets.
 Save
Save These heart-shaped cookies have a way of becoming more than just dessert – theyre tiny canvases for expressing care and creativity. Whether perfectly decorated or charmingly imperfect, theyll be received with the same joy that goes into making them.
Questions & Answers
- → How do I prevent my sugar cookies from spreading during baking?
-
Chilling the dough for at least one hour is essential. Cold dough spreads less and holds its shape better. Additionally, ensure your butter is softened but not melted, and avoid overmixing the dough, which can develop too much gluten.
- → What's the best way to achieve crisp royal icing?
-
The meringue powder in the icing is crucial for structure and drying time. Beat the mixture until stiff peaks form, allowing it to set completely. Store decorated cookies uncovered at room temperature overnight to ensure the icing hardens properly before stacking.
- → Can I make the dough ahead of time?
-
Yes, wrapped dough discs can be refrigerated for up to 3 days or frozen for up to 2 months. Thaw frozen dough in the refrigerator before rolling and cutting. This advance preparation makes decorating convenient for special events.
- → How do I adjust royal icing consistency for different decorating techniques?
-
For piping outlines, use stiffer icing that holds peaks. For flooding or base coats, add water a few drops at a time until it reaches a pourable consistency. The icing should flow smoothly but not run off the cookie edges.
- → What's the difference between using gel versus liquid food coloring?
-
Gel food coloring produces vibrant, deep colors without thinning the icing consistency. Liquid coloring requires more product to achieve color intensity, which can compromise the icing's texture and drying ability. Gel coloring is preferred for royal icing decoration.
- → How long do decorated cookies stay fresh?
-
Store finished cookies in an airtight container at room temperature for up to one week. The royal icing acts as a protective seal, keeping the cookies fresh longer than undecorated ones. Avoid refrigeration, which can cause icing to become sticky.
