 Save
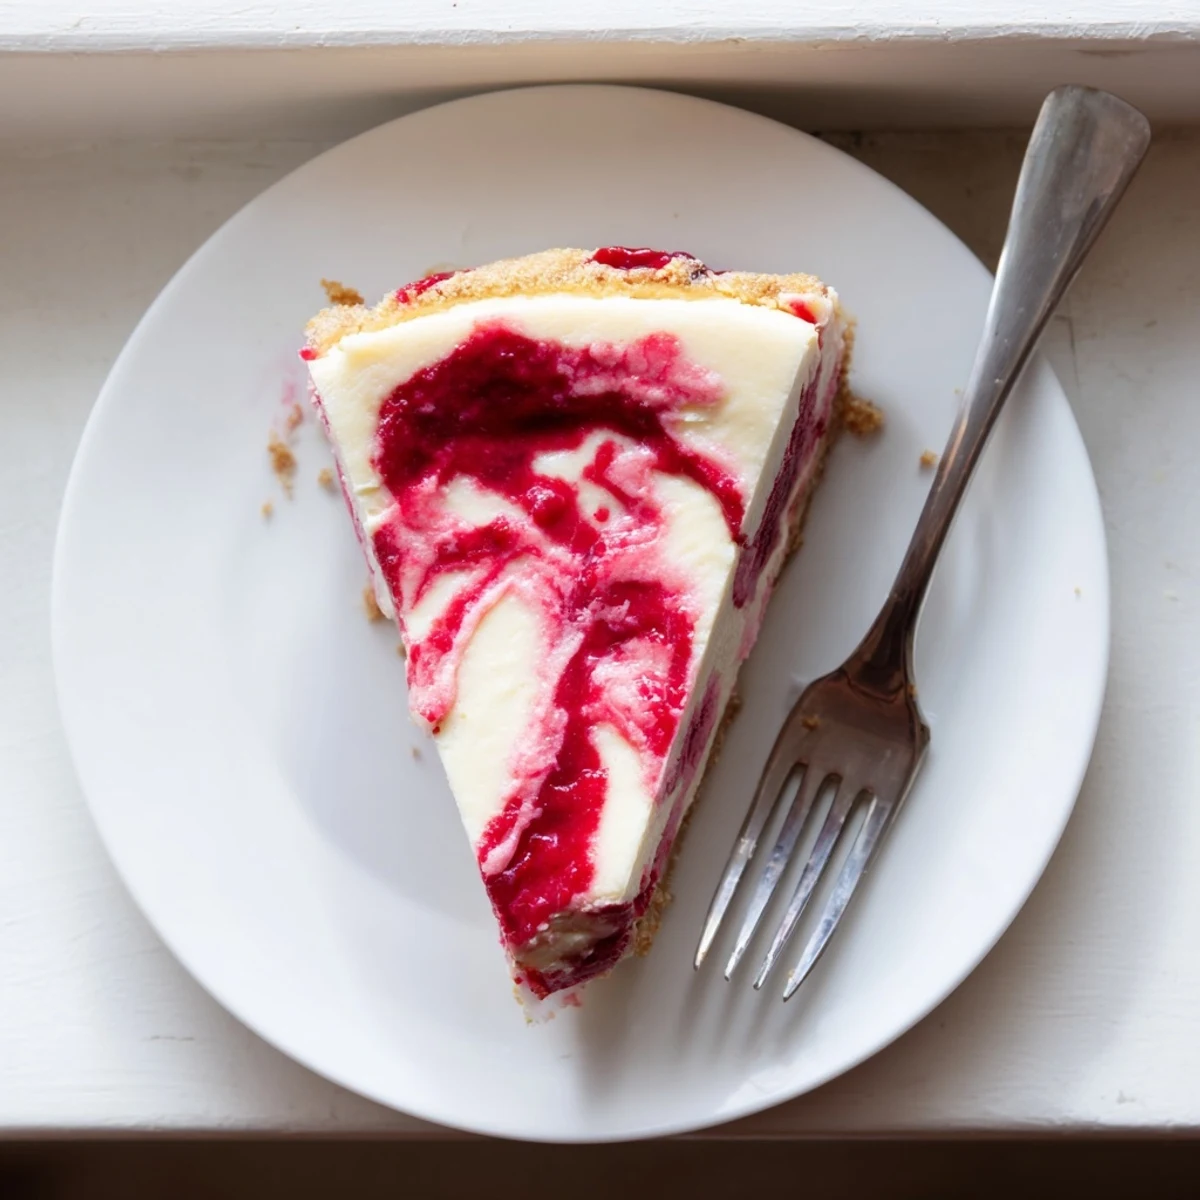
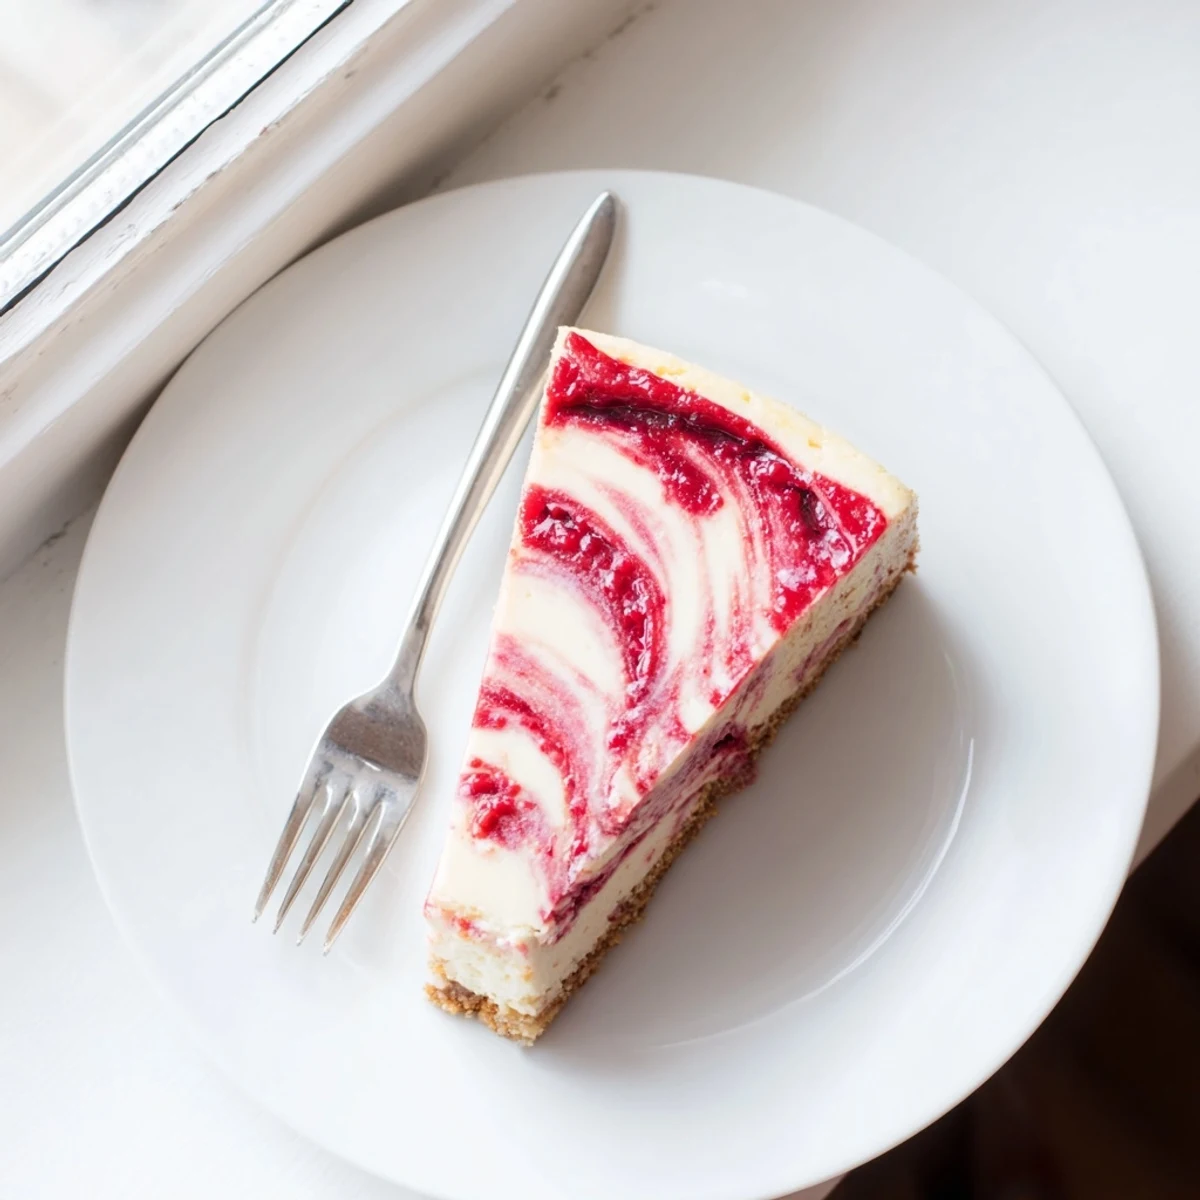
Save This creamy raspberry cheesecake features a rich, velvety filling swirled with tart fresh raspberry sauce, all nestled in a buttery graham cracker crust. The water bath method ensures perfectly smooth texture while the raspberry swirl adds beautiful color and bright flavor contrast. With six hours of chilling time, this American-style dessert develops the ideal consistency—creamy yet firm enough to hold its shape when sliced.
The first time I attempted a water bath cheesecake, I underestimated how much hot water I would need. I ended up ferrying boiling water from the stove in my largest measuring cup, making about six trips. Now I fill a pitcher first and marvel at how much easier the process becomes. That tiny logistical shift transformed my cheesecake baking from an ordeal into something almost meditative.
I made this for my mothers birthday last summer, and she took one bite and declared it better than any bakery version she had ever tasted. There is something deeply satisfying about hearing that little contented sigh when someone experiences the perfect harmony of flavors. The water bath technique seems intimidating, but once you have done it once, you will understand why pastry chefs swear by it.
Ingredients
- Graham cracker crumbs: These create the foundation and buttery crunch that contrasts beautifully with the creamy filling
- Unsalted butter: Room temperature ingredients are non negotiable here for a smooth, lump free batter
- Cream cheese: Let this come to room temperature for at least 2 hours to prevent those dreaded lumps in your filling
- Sour cream: This adds a subtle tang that cuts through the richness and enhances the raspberry brightness
- Fresh raspberries: Do not be tempted by frozen berries here, the fresh ones create the most vibrant sauce
Instructions
- Prepare your crust foundation:
- Combine the graham cracker crumbs with melted butter, sugar, and salt until the mixture resembles wet sand, then press it firmly into the bottom of your springform pan using the bottom of a measuring cup to create an even layer.
- Create the raspberry swirl magic:
- Simmer the fresh raspberries with sugar and lemon juice until they break down completely, then push the mixture through a fine mesh sieve to remove all the seeds and leave behind a silky, vibrant red sauce.
- Build the silky filling:
- Beat the cream cheese and sugar until perfectly smooth, then add your eggs one at a time, incorporating each fully before adding the next, followed by the sour cream, heavy cream, vanilla, and lemon juice.
- Layer and swirl the masterpiece:
- Pour half the cheesecake batter over your cooled crust, drizzle with half the raspberry sauce, and use a skewer to create gentle swirls before repeating with the remaining batter and sauce.
- The gentle water bath bake:
- Place your springform pan inside a larger roasting pan and carefully pour hot water until it reaches halfway up the sides, creating a humid environment that prevents cracking and ensures even cooking.
- Slow cooling for perfection:
- Bake until the edges are set but the center still has a slight wobble, then turn off the oven and crack the door open, letting the cheesecake cool gradually for an hour before refrigerating it for at least four hours or overnight.
 Save
Save This cheesecake has become my go to dinner party dessert because it can be made entirely ahead of time. Something magical happens when you pull it out of the fridge right before serving, the condensation on the pan making it look even more enticing. Your guests will be convinced you spent all day in the kitchen.
Mastering The Water Bath
The water bath technique might seem like an extra step, but it is the secret to that incredibly creamy, crack free texture that bakery cheesecakes achieve. I learned the hard way that wrapping your springform pan in heavy duty foil or using a leak proof pan prevents any water from seeping in and ruining your beautiful crust. The steam created by the hot water allows the cheesecake to cook gently and evenly, preventing the edges from overcooking before the center is done.
Perfecting Your Raspberry Swirl
The art of swirling lies in not overdoing it, you want those dramatic red ribbons running through the creamy white filling, not a uniformly pink cheesecake. I have found that using a simple skewer and making just 3 or 4 figure eight motions through the batter creates the most striking marble effect. Letting your raspberry sauce cool completely before swirling helps it stay distinct rather than bleeding into the filling too much.
Serving And Storage
For clean slices, run a thin knife under hot water and wipe it clean between each cut. The contrast of the bright red raspberry swirl against the pale cream cheese filling makes for an absolutely stunning presentation on any dessert plate.
- Leftovers keep beautifully in the refrigerator for up to 5 days, though in my house they rarely last that long
- This cheesecake freezes exceptionally well, wrap individual slices in plastic wrap and foil for up to 3 months
- Let refrigerated cheesecake sit at room temperature for about 20 minutes before serving for the silkiest texture
 Save
Save There is something deeply satisfying about slicing into that marble pattern and seeing exactly how your swirls turned out. Each slice tells a story of patience and technique, and the first bite is always worth every minute spent.
Questions & Answers
- → Why is water bath essential for cheesecake?
-
A water bath creates gentle, even heat distribution that prevents the cheesecake from cracking during baking. It keeps the air in the kitchen humid, allowing the custard to set slowly without forming a dry, rubbery texture on the edges while the center remains undercooked.
- → Can I use frozen raspberries instead of fresh?
-
Frozen raspberries work beautifully for the swirl. Thaw them completely and drain excess liquid before cooking. You may need to reduce the cooking time slightly since frozen berries release more moisture than fresh ones.
- → How do I know when cheesecake is done baking?
-
The cheesecake is ready when the edges are set and slightly puffy, but the center still has a gentle wobble when you gently shake the pan. It will continue firming as it cools. Overbaking leads to cracks and dry texture.
- → What causes cracks in cheesecake?
-
Cracks typically occur from overmixing the filling (incorporating too much air), overbaking, or cooling too quickly. Always let cheesecake cool gradually in the oven with the door cracked open before refrigerating.
- → How long should cheesecake chill before serving?
-
For optimal texture and flavor, chill at least 4 hours, though overnight refrigeration is ideal. This allows flavors to meld and the filling to set completely. Cheesecake can be refrigerated for up to 5 days.
- → Can I make this gluten-free?
-
Simply substitute graham cracker crumbs with gluten-free vanilla cookies or almond flour crust. Replace the all-purpose flour with an equal amount of cornstarch or certified gluten-free flour blend.
