 Save
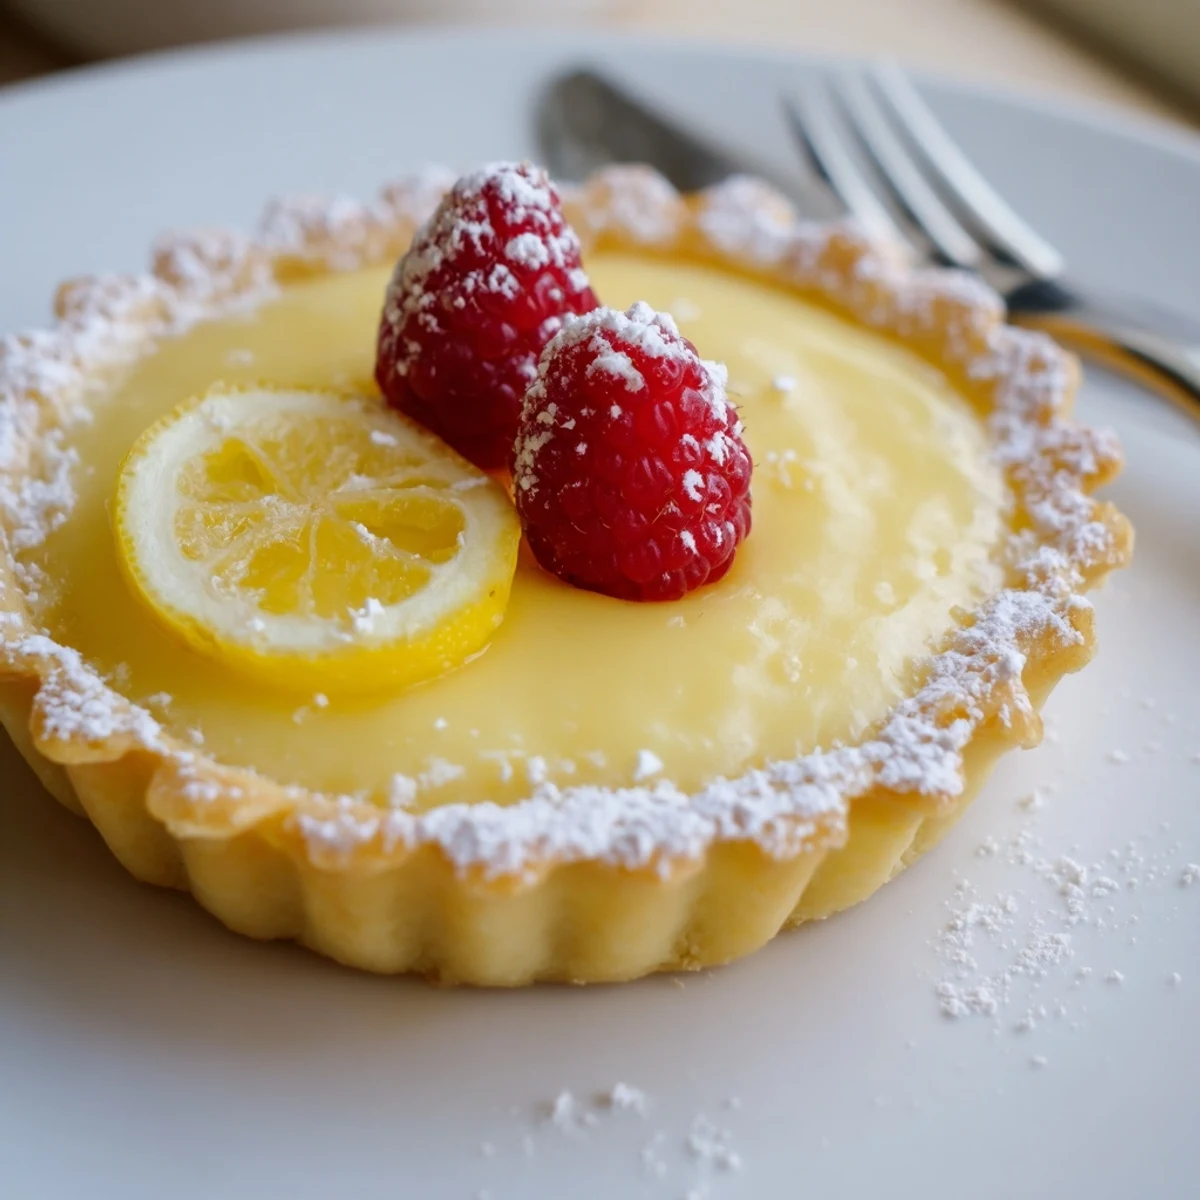
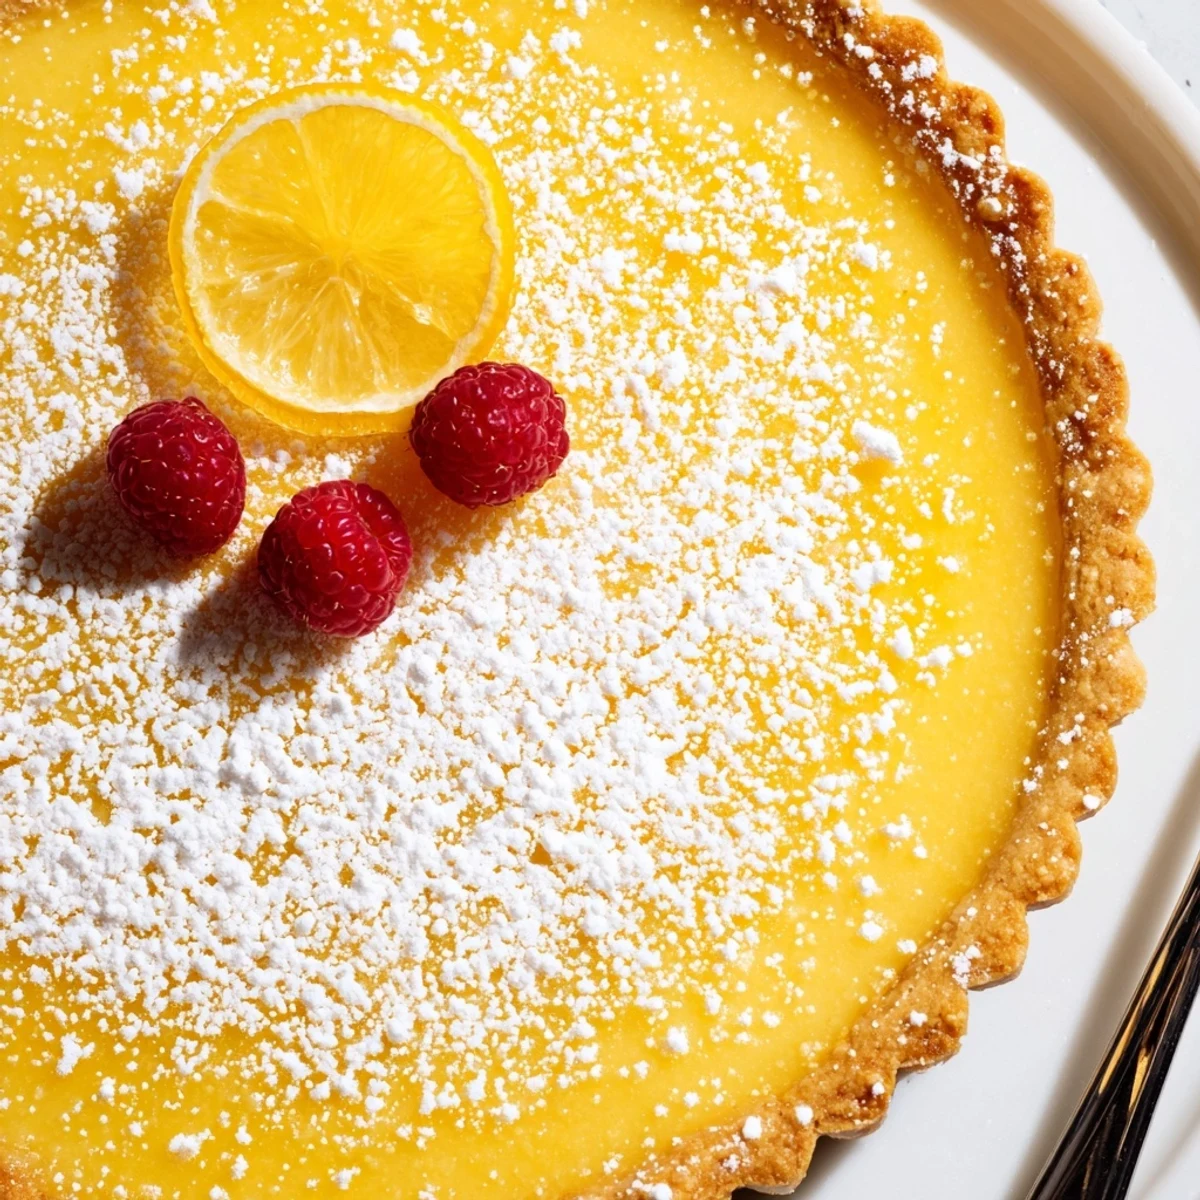
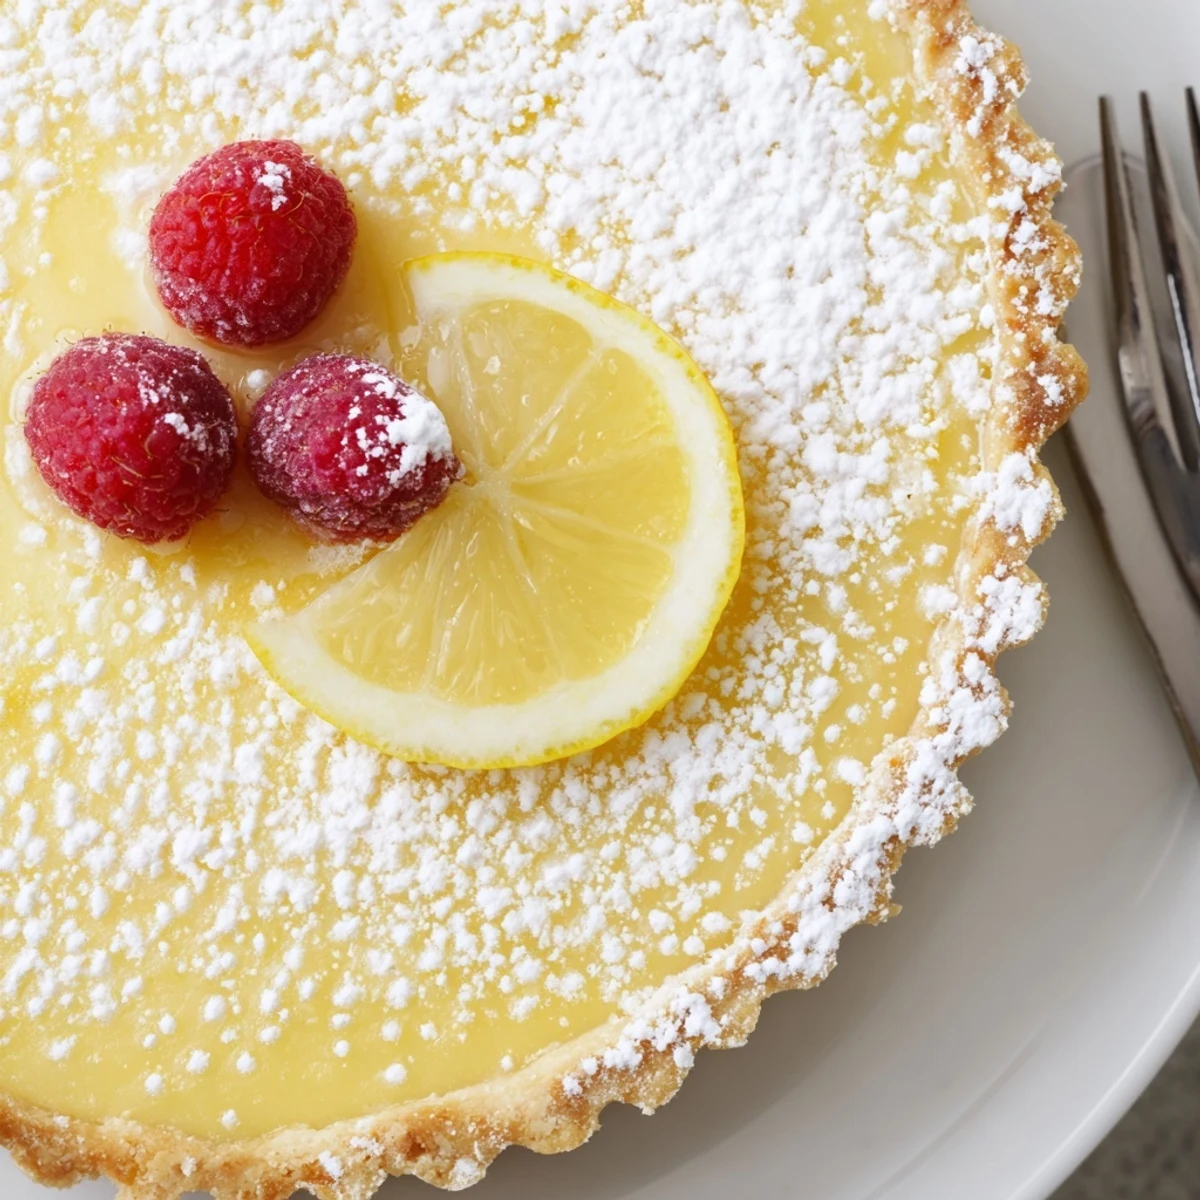
Save This creamy lemon tart begins with a cold, crumbly butter crust that’s blind-baked until golden. A silky filling of cream, whole eggs and yolks, lemon zest and juice is whisked until smooth, poured into the hot shell, and baked at a lower temperature until the edges set and the center still gently jiggles. Chill thoroughly before dusting and serving to sharpen the flavors and set the texture.
The sharp scent of lemon filling the kitchen always means something bright is coming, and the first time I made this tart I remember how the sunlight hit the counter just right, casting little golden squares on the flour-dusted surface. It's not the kind of dessert that shouts for attention, but the gentle clink of the tart pan and the anticipation of creamy, citrusy perfection are enough to set a cheerful mood. I love that this tart straddles that fine line between decadent and refreshing—a little slice of French patisserie in your own home. If you catch a whiff of butter melting with lemon zest, you know you're close to bliss.
Once, I brought this lemon tart to a casual backyard dinner, just as fireflies started appearing over the lawn—cold tart slices balanced on mismatched plates, everyone eating with fingers because the forks ran out. Someone joked that the crust was so good it didn’t matter, and for the rest of the summer, I was obligated to bring "the lemon one" to every gathering.
Ingredients
- All-purpose flour: Gives the crust its crisp, sturdy base; I find a gentle touch yields the flakiest results.
- Powdered sugar: Adds a tender sweetness and helps the crust stay delicate instead of tough.
- Salt: Enhances both the buttery richness of the crust and the tartness of the filling.
- Unsalted butter: Needs to be cold, or you miss out on lovely layers; I dice it quickly then freeze for a few minutes if the kitchen’s warm.
- Egg yolk: Binds the dough and enriches the color—save the whites for another recipe.
- Cold water: Just enough to pull the dough together; I drizzle in slowly to avoid overdoing it.
- Heavy cream: Brings that signature silkiness to the lemon filling—don’t skimp here.
- Granulated sugar: Gives sweetness and texture; whisk it thoroughly to avoid any graininess.
- Eggs and egg yolks: Create a custardy bite that balances tart and creamy—crack them into a bowl first in case of shells.
- Lemon zest: The oils in the zest add so much zing; I use a microplane and avoid the bitter white pith.
- Fresh lemon juice: Bottled doesn’t compare for a clean, bright flavor—press through a strainer for pulp-free tart filling.
- Powdered sugar and berries (optional): These make the final tart look as lovely as a shop window; if using berries, choose firm ones for the prettiest finish.
Instructions
- Get Things Preheated:
- Set your oven to 350°F 175°C and let it heat up while you assemble the crust ingredients—there's something comforting about a warm kitchen as you work.
- Make The Crust:
- Tumble the flour, powdered sugar, and salt into a food processor. Add the cold, cubed butter, then pulse in quick bursts until the mixture is like crumbly wet sand.
- Bring Dough Together:
- Add the egg yolk and two tablespoons of cold water. Pulse just until the dough starts clumping; if it still looks dry, a splash more water helps—but stop before it turns sticky.
- Form and Chill:
- Dump the dough onto a floured counter, shape into a disk, wrap snugly, and chill for at least 30 minutes; this is your window to clean up and zest your lemons.
- Roll and Line the Pan:
- Roll out the dough to about 1/8 inch thick, then carefully drape it into your tart pan—press gently and patch any cracks. Prick the bottom with a fork and freeze the shell for ten minutes before blind baking.
- Blind Bake:
- Cover the crust with parchment, fill with pie weights or beans, and bake for 15 minutes. Remove the weights, bake another 8–10 minutes until lightly golden, then let it cool to the touch.
- Adjust The Oven:
- Lower the temperature to 300°F 150°C as the crust cools—this helps the filling set evenly without coloring too fast.
- Make the Filling:
- Vigorously whisk the cream, sugar, eggs, yolks, lemon zest, juice, and a pinch of salt until smooth and a little frothy; it's fine to sneak a smell here—the citrusy aroma is irresistible.
- Fill and Bake:
- Pour the filling into the waiting crust and gently slide it into the oven. Bake 20–25 minutes, watching for a just-set edge and jiggly center—like a soft pillow, not a liquid sea.
- Cool and Chill:
- Let the tart cool on the counter, then chill for at least an hour; it firms up and the flavors meld beautifully as it rests.
- Garnish and Serve:
- Dust with powdered sugar and top with berries or candied lemon if you like—slice and serve cold for the most refreshing effect.
 Save
Save I’ll never forget the morning a neighbor came over after a rough week, and we sat, fork in hand, savoring slivers of this tart while sharing stories. Food rarely solves anything instantly, but that little moment of brightness lingered long after the last crumb disappeared.
Choosing Lemons That Shine
Over time, I realized the biggest upgrade for this tart comes from using lemons with thin, brightly colored skins—they yield zest with the most aroma and give just enough juice without tasting harsh. Whenever possible, I pick heavy lemons, which almost always mean extra-juicy insides.
Making the Perfect Crust
For a truly crisp crust, chilling is non-negotiable, and I now freeze my lined tart shell before baking every single time. Handling the dough quickly keeps it tender, and patching any tears with spare scraps saves the day more often than I’d like to admit.
Easy Ways to Vary Your Tart
Sometimes I swap the berries for softly whipped cream, or add a spoonful of toasted coconut for an unexpected twist—the tart takes well to all sorts of little experiments. Zesting a bit of orange into the filling lends a subtle floral note if you want something different. I’ve even scattered passionfruit pulp on occasion when feeling bold.
- Use a removable-bottom tart pan for easiest serving.
- If you prefer less tang, reduce the lemon juice by a tablespoon or two.
- For clean slices, wipe your knife between cuts.
 Save
Save This lemon tart is my go-to for making any day feel brighter—and I hope it brings a little bit of cheer to your table as well.
Questions & Answers
- → How do I prevent the filling from curdling?
-
Whisk eggs and yolks with sugar first, then gradually incorporate the cream and lemon juice. Avoid high oven temperatures and bake at the lower specified temperature until just set; swift, gentler heat reduces curdling risk.
- → How can I tell when the tart is done?
-
The edges should be set and slightly firm while the center remains a bit jiggly but not liquid. It will continue to firm as it cools; overbaking yields a grainy texture.
- → Can I make the crust gluten-free?
-
Yes. Swap in a quality gluten-free flour blend with a binder and keep cold butter for flakiness. Blind-bake as directed and check for a golden, dry surface before filling.
- → Why chill the tart after baking?
-
Chilling allows the filling to fully set and develop tight, silky texture and concentrated lemon flavor. It also makes slicing cleaner and improves the overall mouthfeel.
- → Any tips for a silky, smooth filling?
-
Strain the custard before pouring into the crust if desired, whisk until homogeneous without over-aerating, and avoid very high oven heat. Gentle baking and proper chilling produce the silkiest finish.
- → How long will leftovers keep and how should I store them?
-
Store covered in the refrigerator for up to 3 days. Keep garnishes separate until serving; bring to cool serving temperature from fridge rather than reheating to preserve texture.
