 Save
Save Making homemade yogurt is surprisingly simple and requires only two ingredients: whole milk and plain yogurt with active cultures. The process involves gently heating milk to 85°C, cooling it to around 43°C, mixing in the starter, then incubating the mixture in a warm spot for 8 to 12 hours.
The result is a rich, creamy yogurt with a tangy flavor that far surpasses most store-bought versions. You control the thickness and tartness by adjusting the incubation time. For an even thicker consistency, strain it through cheesecloth after incubation.
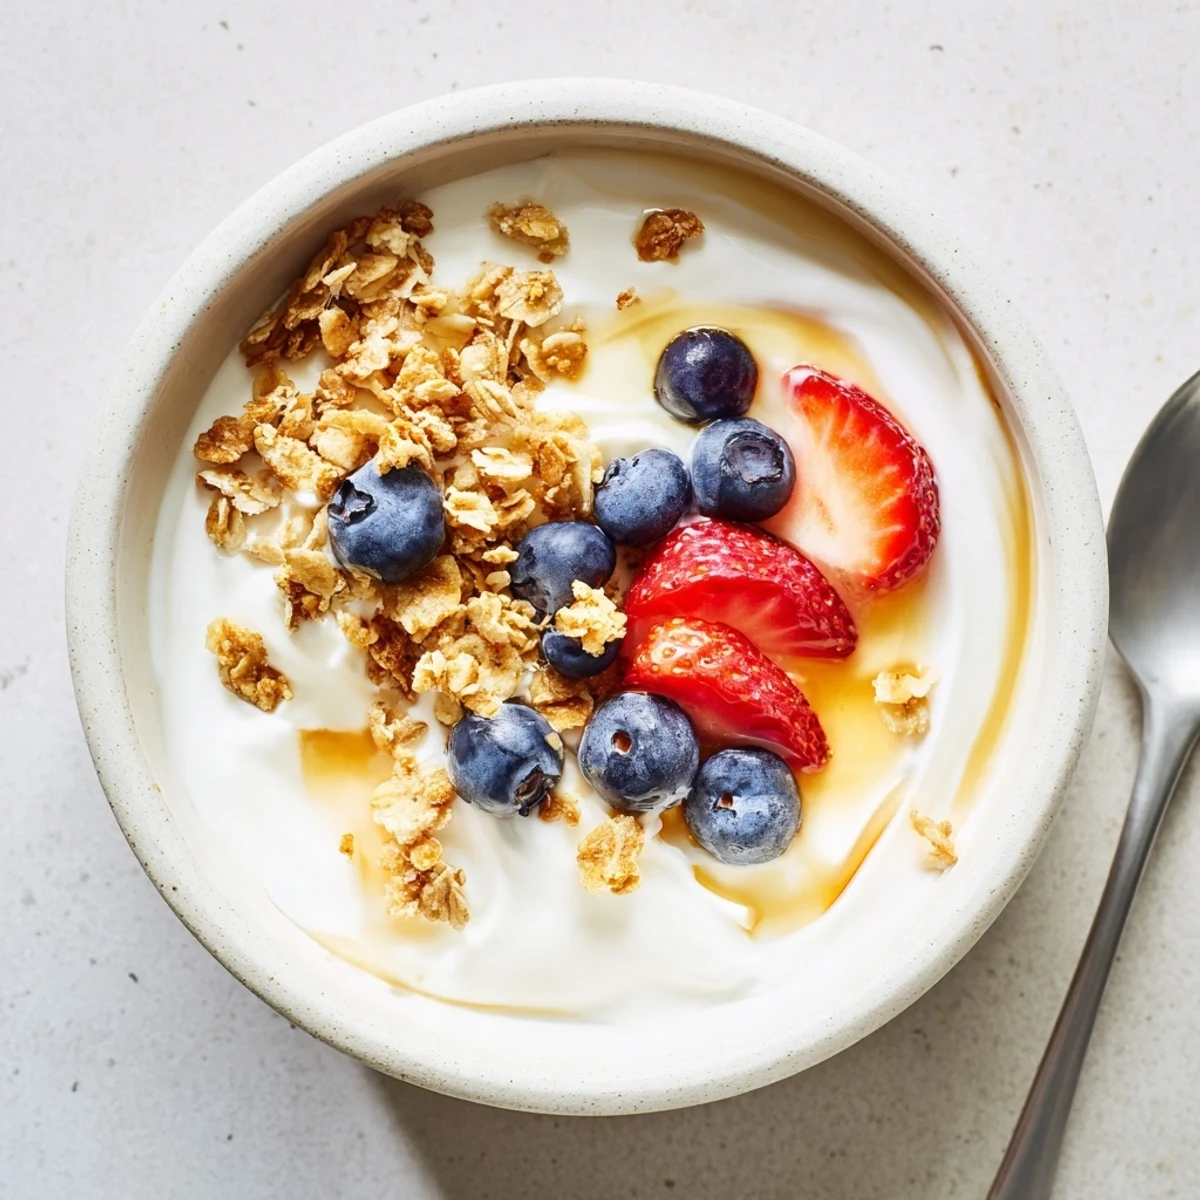
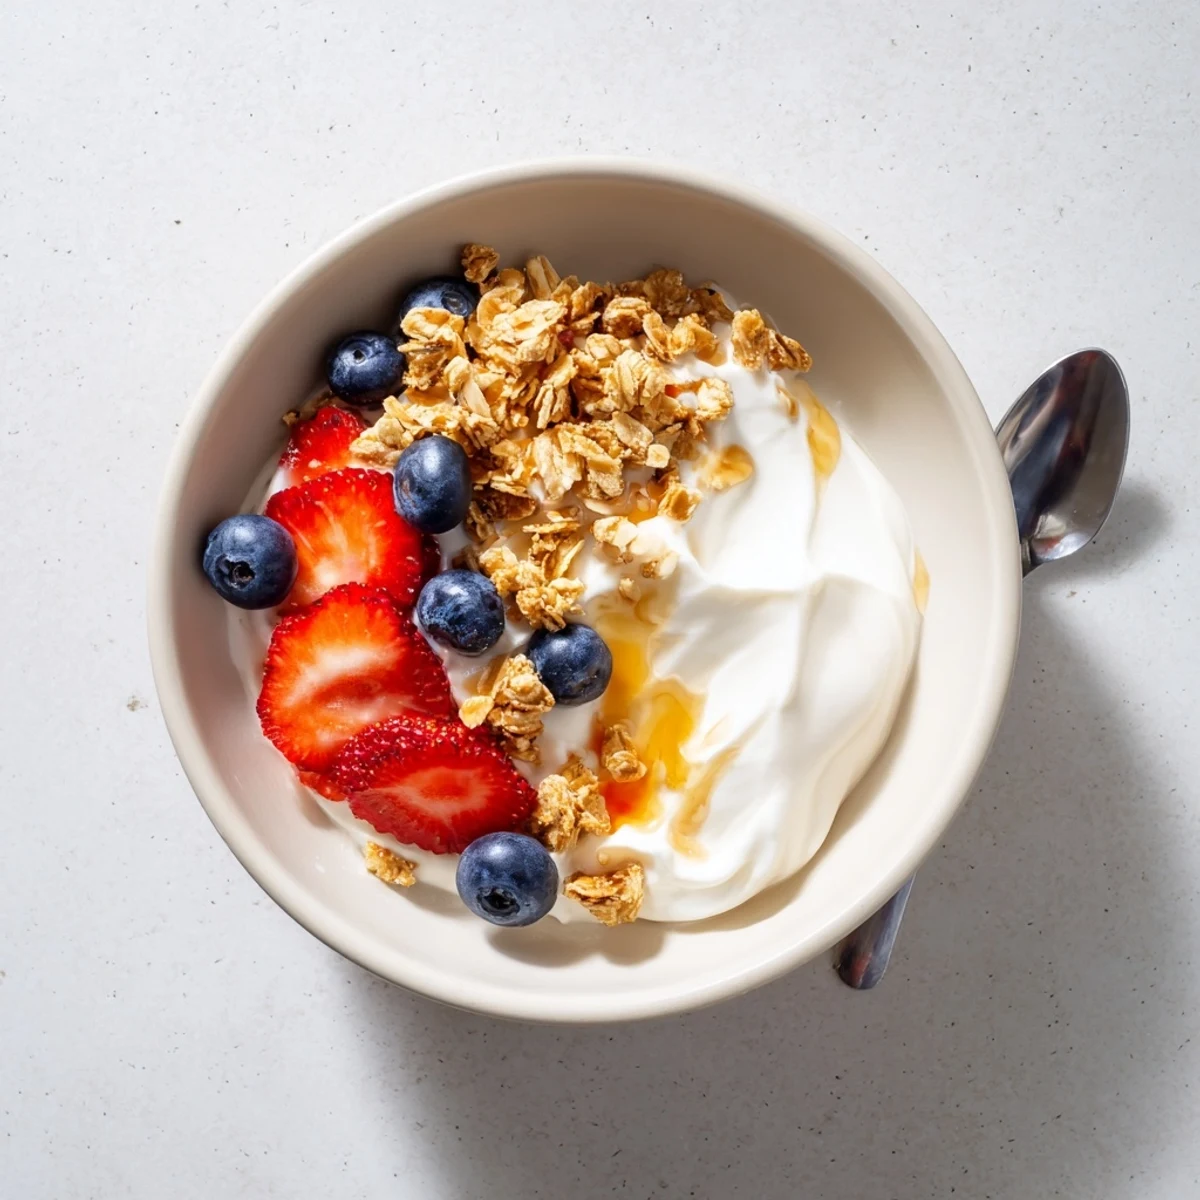
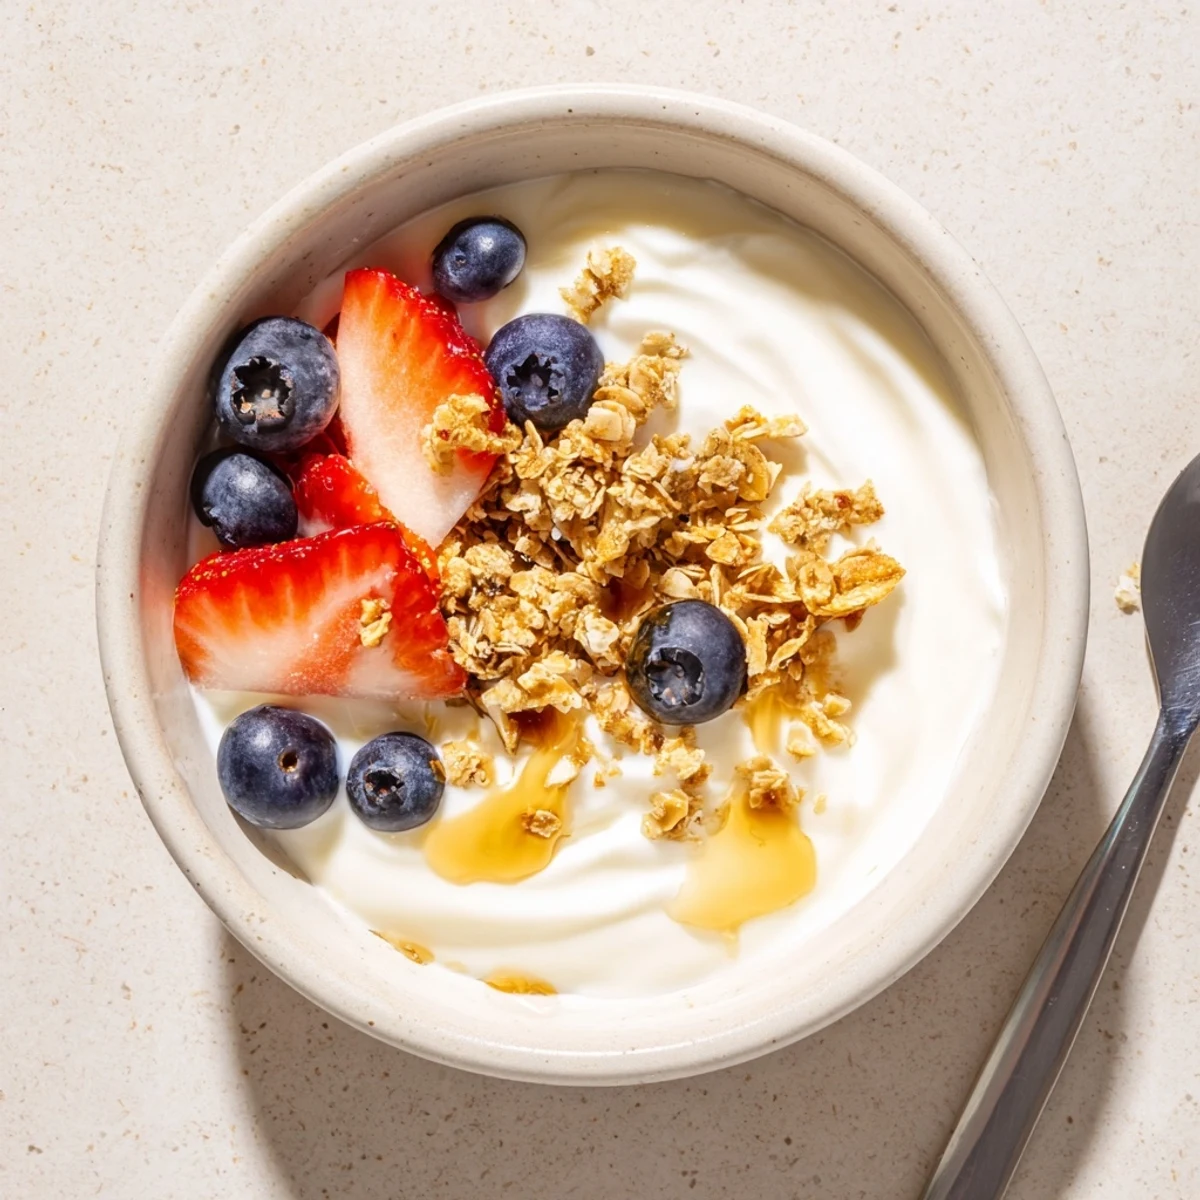
Once chilled, this versatile yogurt works beautifully at breakfast topped with fruit and granola, as a midday snack with honey, or as a base for savory dips and sauces. Save a portion to use as starter for your next batch.
The sound of milk hissing against steel is how my Sunday mornings usually begin now, ever since a neighbor left a jar of her homemade yogurt on my doorstep with nothing but a sticky note that read just try it. That single jar ruined store bought yogurt for me forever, and honestly I am still a little mad about it. There is something quietly magical about watching just two ingredients transform into something thick, tangy, and entirely yours.
My sister called me one Tuesday evening panicking because she had volunteered to bring a yogurt based dip to a potluck and forgot to buy any, and I walked her through this recipe over the phone while she balanced a thermometer and a toddler on her hip.
Ingredients
- 1 liter whole milk: Whole milk gives you that luxurious, velvety texture but low fat works too if that is what you have on hand, just expect a thinner result.
- 2 tablespoons plain yogurt with active cultures: This is your starter and it must contain live cultures so check the label carefully, and a good quality plain yogurt with no added sugar or flavors will give you the cleanest result.
Instructions
- Warm the milk gently:
- Pour the milk into a saucepan and set it over medium heat, stirring every now and then so a skin does not form on top, until your thermometer reads 85 degrees Celsius. You want steam rising but no bubbles, because boiling changes the flavor in a way you will notice later.
- Cool it down with patience:
- Take the pan off the heat and let the milk drop to between 43 and 45 degrees Celsius, which takes roughly 30 to 40 minutes depending on your kitchen. This waiting period is when I usually wash the dishes I just made or stare out the window with a cup of coffee.
- Temper the starter:
- Scoop a few tablespoons of the cooled milk into a small bowl and whisk in the yogurt starter until perfectly smooth with no lumps hiding in the corners. This step matters more than people think because dumping cold starter straight into the warm milk can shock the cultures and leave you with runny yogurt.
- Combine everything:
- Pour the tempered starter mixture back into the saucepan and stir gently but thoroughly so the cultures are evenly distributed throughout the milk. A few slow folds with your whisk is all it takes.
- Transfer and cover:
- Pour the milk into a clean container or divide it among individual jars, then cover loosely with lids or a clean towel so air can still move. I learned the hard way that sealing it tight traps moisture and creates a weird texture on top.
- Incubate in a warm spot:
- Place your container in a warm, undisturbed spot for 8 to 12 hours, and my go to method is a turned off oven with just the interior light switched on which creates the perfect cozy environment. The longer you let it sit, the tangier it gets, so taste test at 8 hours if you prefer mild.
- Chill before serving:
- Once set to your liking, move the yogurt to the refrigerator for at least 2 hours which helps it firm up and develop its final texture. Cold yogurt straight from the fridge the next morning is one of life's simplest rewards.
 Save
Save There is a quiet kind of pride that comes from opening your refrigerator and seeing jars of yogurt you made yourself sitting there, thick and waiting.
Making It Thicker Without Added Gelatin
If you love Greek style yogurt, simply line a strainer with cheesecloth, set it over a bowl, and let your finished yogurt drain for several hours in the refrigerator. The whey that drips out is golden liquid you can use in smoothies or bread dough, so do not pour it down the sink.
Keeping Your Starter Alive Batch After Batch
Save a few tablespoons from each batch in a separate container before you start eating from the jar, because once you add fruit or honey the cultures behave differently. Most people find they can keep reusing their own starter for about four or five generations before the tang shifts and the texture weakens, at which point you just buy a fresh spoonful and start over.
Simple Ways to Dress It Up
A bowl of plain homemade yogurt is a blank canvas and that is the whole point, but some mornings call for a little extra love.
- A drizzle of honey and a handful of toasted walnuts turns breakfast into something you actually look forward to waking up for.
- Fresh berries or a spoonful of fruit compote folded in just before eating adds brightness without making the whole batch sweet.
- A pinch of flaky salt on top sounds strange but trust me, it makes the flavor pop in a way you will not expect.
 Save
Save Homemade yogurt asks almost nothing of you except a little patience and a warm corner of your kitchen, and in return it gives you something honest and nourishing day after day.
Questions & Answers
- → What type of milk works best for making yogurt?
-
Whole milk produces the thickest, creamiest yogurt due to its higher fat content. Low-fat milk also works but will yield a thinner result. Avoid ultra-pasteurized milk if possible, as the high-heat processing can affect protein structure and lead to weaker setting. Standard pasteurized milk gives the most reliable results.
- → How do I know when the yogurt has finished incubating?
-
The yogurt is ready when it has set to a custard-like consistency and pulls away from the side of the container cleanly when you tilt it. A longer incubation time produces tangier, firmer yogurt, while a shorter time yields milder, softer results. Start checking around the 8-hour mark and go from there based on your preference.
- → Can I reuse my homemade yogurt as a starter for the next batch?
-
Yes, you can use a few tablespoons of your homemade yogurt as starter for the next batch. This works well for several generations, though the cultures may gradually weaken over time. For the strongest results, use your homemade starter within a week and consider refreshing with a new commercial starter after 3 to 4 batches.
- → Why did my yogurt turn out runny?
-
Runny yogurt can result from several factors: the milk may not have been heated hot enough initially to denature the proteins, the incubation temperature may have dropped too low, or the incubation time may have been insufficient. Make sure your warm spot stays consistently around 40–45°C and that you heat the milk fully to 85°C before cooling.
- → How can I make Greek-style thick yogurt?
-
To achieve a thick, Greek-style consistency, strain your finished yogurt through a cheesecloth-lined strainer for several hours in the refrigerator. The longer you strain, the thicker it becomes. The liquid that drains off is whey, which can be saved and used in smoothies or baking for added protein and nutrients.
- → Is it safe to make yogurt at home without special equipment?
-
Absolutely. Many home cooks successfully make yogurt using a turned-off oven with the interior light switched on, which provides enough gentle warmth for incubation. Other methods include wrapping the container in towels and placing it near a warm spot, or using a thermos. The key is maintaining a consistent warm temperature between 40–45°C during the incubation period.
