 Save
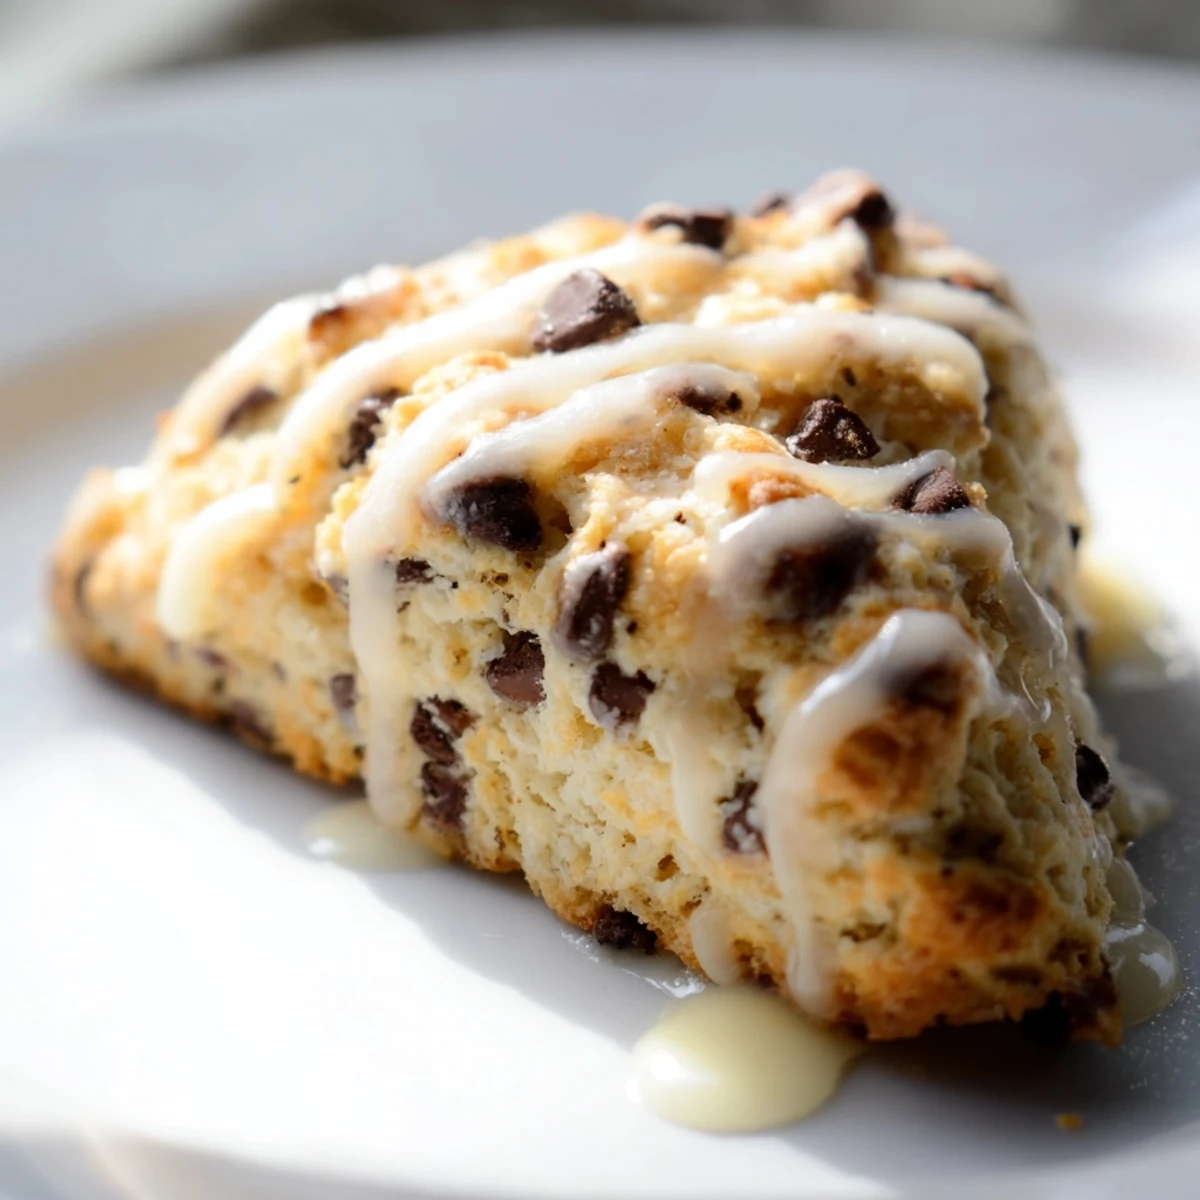
Save Chocolate Chip Scones with Glaze are a classic British-inspired baked good that combines tender, buttery dough with semi-sweet chocolate chips. This easy-to-make treat requires just 15 minutes of prep and 18 minutes of baking time, making it perfect for weekend breakfasts or afternoon tea.
The key to perfect scones is keeping your butter cold and avoiding overmixing the dough. Simply combine dry ingredients, cut in chilled butter until crumbly, mix in a cream-egg mixture, fold in chocolate chips, then shape and bake until golden. A smooth vanilla glaze drizzled over the cooled scones adds the finishing touch.
The morning sun was streaming through my kitchen window when I first attempted these chocolate chip scones. I'd been craving something that balanced the line between breakfast and dessert, and these buttery, chocolate-studded treats hit all the right notes. The vanilla glaze pools into little rivers of sweetness on the warm scones, creating a moment of pure bliss with that first bite.
Last winter, when my friend Clare was going through a difficult time, I brought over a batch of these still-warm from the oven. We sat in her cozy living room, drinking tea and letting the chocolate chips melt slightly as we broke the scones apart. The simple act of sharing something homemade seemed to lift the heaviness in the room, if only for a little while.
Ingredients
- Cold butter: I learned through trial and error that keeping the butter properly chilled creates those perfect flaky pockets that make scones special rather than just sweet bread.
- Heavy cream: The fat content here is non-negotiable if you want that rich mouthfeel and tender crumb that keeps you coming back for another bite.
- Semi-sweet chocolate chips: The slight bitterness balances the sweet dough perfectly, though I've been known to mix in chopped dark chocolate when I'm feeling particularly decadent.
- Vanilla extract: A splash in both the dough and glaze ties everything together with a warmth that makes these scones feel like home.
Instructions
- Prep your workspace:
- Preheat your oven to 400°F and line a baking sheet with parchment paper, giving yourself plenty of counter space to work the dough.
- Mix the dry ingredients:
- Whisk together flour, sugar, baking powder, and salt in a large bowl, creating a well-balanced foundation for your scones.
- Cut in the butter:
- Add those cold butter cubes and work them into the flour until you see coarse crumbs forming. I find using my fingertips gives me better control than a pastry cutter, allowing me to feel when the texture is just right.
- Combine wet ingredients:
- In a separate bowl, whisk together the heavy cream, egg, and vanilla until they become a unified mixture of richness.
- Form the dough:
- Pour the wet ingredients into your flour mixture and stir just until combined, then fold in those chocolate chips gently. The dough should look a bit shaggy but hold together when pressed.
- Shape and cut:
- Turn your dough onto a lightly floured surface and pat it into a 7-inch circle, then cut it into 8 wedges like youre slicing a pizza. The dough might feel sticky, but resist adding too much extra flour.
- Bake to golden perfection:
- After brushing with a little cream, bake until the edges turn a lovely golden brown, about 16-18 minutes. Your kitchen will fill with a butter-vanilla aroma that makes waiting almost impossible.
- Glaze with care:
- Once cooled, whisk together your glaze ingredients and drizzle generously over each scone. I like to let some run down the sides for that bakery-style finish.
 Save
Save One rainy Saturday morning, my daughter climbed onto a kitchen stool to help me make these scones. Her small hands were covered in flour as she giggled at the sticky dough between her fingers. When we drizzled the glaze together, some of it missed the scones entirely, creating a delicious mess. Now she asks for our special scones whenever the weather turns gloomy, continuing a tradition I never planned but cherish deeply.
Storage and Freshness
Though Ive tried various storage methods over the years, the truth is these scones are at their absolute peak the day theyre baked, preferably within the first few hours. The contrast between the slightly crisp exterior and tender interior diminishes with time, though storing them in an airtight container for up to two days is perfectly acceptable when necessary.
Make-Ahead Options
When hosting brunch gatherings, Ive found that preparing the dough the night before saves precious morning time without sacrificing quality. Simply shape the scones, place them on a parchment-lined baking sheet, cover with plastic wrap, and refrigerate overnight. In the morning, brush with cream and bake directly from the refrigerator, adding just 2-3 minutes to the baking time.
Variations and Substitutions
These scones have become a canvas for seasonal inspiration in my kitchen, changing with my mood and the contents of my pantry. After dozens of experiments, Ive discovered the dough is remarkably forgiving and adaptable.
- Orange zest and cranberries create a holiday version that disappears faster than any Christmas cookie on my dessert table.
- For a summer twist, reduce chocolate chips to 1/2 cup and fold in 1/2 cup fresh blueberries with a teaspoon of lemon zest.
- When serving for afternoon tea, try making mini scones by shaping the dough into two smaller circles and adjusting the baking time to 12-14 minutes.
 Save
Save These chocolate chip scones have taught me that sometimes the most meaningful traditions begin with the simplest recipes. Whether shared with friends during difficult times or made with flour-covered little hands on rainy mornings, they've become much more than breakfast in my home.
Questions & Answers
- → Why is it important to keep the butter cold when making scones?
-
Cold butter creates small pockets of fat in the dough that produce steam during baking, resulting in a light, flaky texture. Warm butter blends too smoothly into the flour, creating a denser, less tender scone.
- → What happens if I overmix the scone dough?
-
Overmixing develops gluten, which makes the scones tough and dense rather than light and tender. Mix just until the ingredients are combined, stopping as soon as the dough comes together.
- → Can I prepare the scone dough ahead of time?
-
Yes, you can prepare the dough up to the shaping step and refrigerate it for up to 8 hours. Cut and bake directly from the fridge, adding a minute or two to the baking time if needed.
- → How do I achieve a golden, even bake on my scones?
-
Brush the tops with heavy cream before baking for a golden finish. Ensure your oven is properly preheated to 400°F and place the baking sheet in the center rack for even heat circulation.
- → How should I store leftover scones?
-
Store cooled scones in an airtight container at room temperature for up to 2 days. For longer storage, freeze them for up to 3 months and reheat gently before serving.
- → Can I substitute the semi-sweet chocolate chips with other mix-ins?
-
Absolutely. Try dark chocolate chips, chopped white chocolate, dried cranberries, blueberries, or chopped nuts. You can also combine chocolate with other add-ins for creative variations.
