 Save
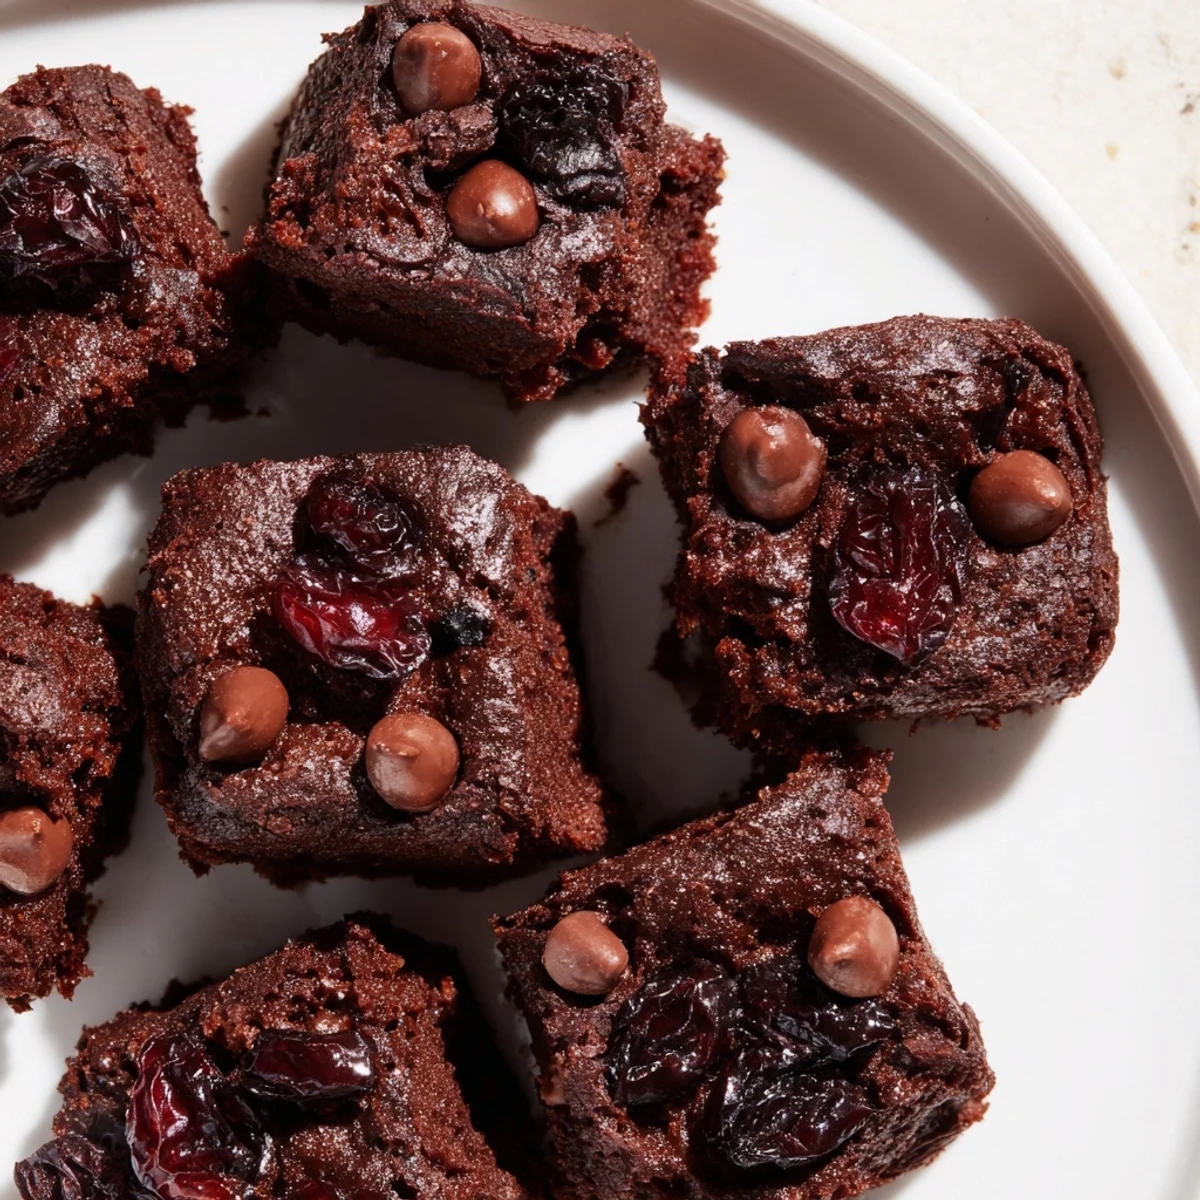
Save These chocolate cherry brownie bites combine a rich, fudgy texture with the tartness of dried cherries and the sweetness of semisweet chocolate chips. Made with simple pantry ingredients, the batter is whisked together and baked in mini muffin cups for perfectly portioned bites. Ideal for quick snacks or elegant gatherings, these treats offer a balanced, decadent flavor profile. Cooling before serving ensures the best texture, while options like drizzling melted chocolate or substituting berries add delicious variety.
The rain was absolutely pouring that Sunday afternoon, the kind of cozy weather that practically demands something chocolatey and warm. My friend Sarah had dropped by unexpectedly, seeking refuge from the downpour, so I started rummaging through the pantry. A bag of dried cherries caught my eye, and suddenly I remembered these brownie bites my grandmother used to make. Within the hour, the kitchen smelled incredible, and we were curled up on the couch with warm fudgy treats and steaming mugs of coffee.
Last Christmas, I brought a platter of these to a cookie exchange and watched them vanish in under ten minutes. My cousin actually followed me around the party until I finally wrote out the recipe on the back of a napkin for her. Now every family gathering, someone inevitably asks if I'm bringing those cherry chocolate bites. Something about the miniature format makes people feel less guilty about eating three or four.
Ingredients
- 3/4 cup (90 g) all-purpose flour: This provides the perfect structure, creating that crackly top while keeping the inside fudgy. I've learned not to pack the flour when measuring, or they'll turn out cakey instead of dense.
- 1/4 cup (25 g) unsweetened cocoa powder: Dutch-processed cocoa gives the deepest chocolate flavor, but regular works perfectly fine too. The key here is sifting it to avoid any lumps in your batter.
- 1/2 tsp baking powder: Just enough lift to give these bites a slightly domed top while maintaining that dense, fudgy texture we all love in brownies.
- 1/4 tsp fine sea salt: Don't skip this, it amplifies the chocolate flavor and balances the sweetness perfectly.
- 1/2 cup (115 g) unsalted butter, melted: I like melting it completely and letting it cool slightly so it incorporates smoothly. The butter flavor really shines through here.
- 3/4 cup (150 g) granulated sugar: Creates that beautiful crackly crust on top that signals a perfect brownie. The sugar also helps keep the texture fudgy rather than cakey.
- 1/4 cup (50 g) packed light brown sugar: Adds a subtle molasses flavor and extra moisture that makes these brownie bites exceptionally chewy.
- 2 large eggs, at room temperature: Room temperature eggs incorporate better and create more volume. I've rushed this before and the texture definitely suffers.
- 1 tsp pure vanilla extract: Pure vanilla makes such a difference here, rounding out all the flavors and making the chocolate taste more chocolatey.
- 3/4 cup (120 g) semisweet chocolate chips: I love using mini chocolate chips so they distribute evenly throughout each bite. They become little pockets of molten chocolate when warm.
- 3/4 cup (100 g) dried tart cherries, roughly chopped: The tartness cuts through all that rich chocolate beautifully. Give them a rough chop so you get cherry flavor in every bite without overwhelming the chocolate.
Instructions
- Preheat your oven:
- Set your oven to 350°F (175°C) and grab a 24-cup mini muffin tin. I line mine with paper liners for easy cleanup, but a light coating of nonstick spray works beautifully too.
- Whisk the dry ingredients:
- In a medium bowl, combine the flour, cocoa powder, baking powder, and salt. Give everything a good whisk to distribute the leavening evenly throughout the flour.
- Make the sweet butter base:
- Whisk together your melted butter, granulated sugar, and brown sugar until the mixture looks glossy and smooth. This usually takes about a minute of enthusiastic whisking.
- Add the eggs and vanilla:
- Add the eggs one at a time, whisking thoroughly after each addition until the mixture becomes thick and glossy. Stir in the vanilla extract last.
- Combine wet and dry:
- Gently fold the dry ingredients into the wet mixture using a spatula. I stop as soon as the flour streaks disappear, being careful not to overmix which can make them tough.
- Fold in the good stuff:
- Add the chocolate chips and chopped dried cherries, folding just until they're evenly distributed. The batter will be thick and glossy, which is exactly what you want.
- Fill the muffin cups:
- Divide the batter among your prepared mini muffin cups, filling each about three-quarters full. I use a small cookie scoop for this so they're all perfectly uniform.
- Bake until just set:
- Bake for 16 to 18 minutes until the tops are set and slightly glossy. A toothpick should come out with moist crumbs but not wet batter.
- Cool carefully:
- Let them cool in the pan for 5 minutes before transferring to a wire rack. This cooling period helps them set up properly so they don't fall apart when you remove them.
 Save
Save My daughter now requests these for every school bake sale, and I've learned to double the recipe because teachers literally line up to grab them first. There's something about that first bite, the way the tart cherry hits you right after the rich chocolate, that makes people's eyes light up every single time.
Getting The Texture Just Right
The magic happens in that sweet spot between underbaked and overbaked, around 17 minutes in most ovens. I've learned that they continue cooking in the hot pan for those first five minutes of cooling time, so pulling them out when they still look slightly underdone is actually the right move. The centers should still feel soft and slightly jiggly, not firm like a cake. This resting period is absolutely crucial, so resist the urge to dig in immediately.
Customization Ideas
Sometimes I swap the cherries for dried cranberries during winter holidays, or use dried sour cherries when I can find them for an extra tart punch. White chocolate chips instead of semisweet create a completely different vibe that's equally delicious. During summer, I've even added a handful of fresh raspberries, though I reduce the oven time by a minute since the fresh fruit adds more moisture.
Serving And Storage
These are somehow even better the next day, once the flavors have had time to meld and develop. I store them in an airtight container at room temperature with a piece of bread to keep them perfectly moist. They're wonderful slightly warmed in the microwave for about 10 seconds, which brings back that fresh-baked texture.
- For gift giving, I pack them in decorative muffin liners and tie with baker's twine
- They freeze beautifully for up to 3 months, perfect for unexpected guests or emergencies
- A light dusting of powdered sugar right before serving makes them look incredibly professional
 Save
Save Whether you're baking for a crowd or just treating yourself on a rainy afternoon, these little bites of chocolate heaven never disappoint. There's something so satisfying about that first warm, fudgy bite with its surprise of tart cherry sweetness.
Questions & Answers
- → How do I ensure the brownie bites stay fudgy?
-
Be careful not to overbake; remove from the oven when a toothpick comes out with moist crumbs. Cooling in the pan helps them set without drying out.
- → Can I substitute the dried cherries with other fruits?
-
Yes, dried cranberries or blueberries work well and provide a similar tartness and texture.
- → Are the brownie bites suitable for vegetarians?
-
Yes, these bites contain no meat products and are suitable for a vegetarian diet.
- → What is the best way to store these brownie bites?
-
Store in an airtight container at room temperature for up to four days to maintain freshness and texture.
- → Can I add extra chocolate toppings?
-
Absolutely, drizzling melted chocolate over cooled bites adds extra indulgence and a glossy finish.
