 Save
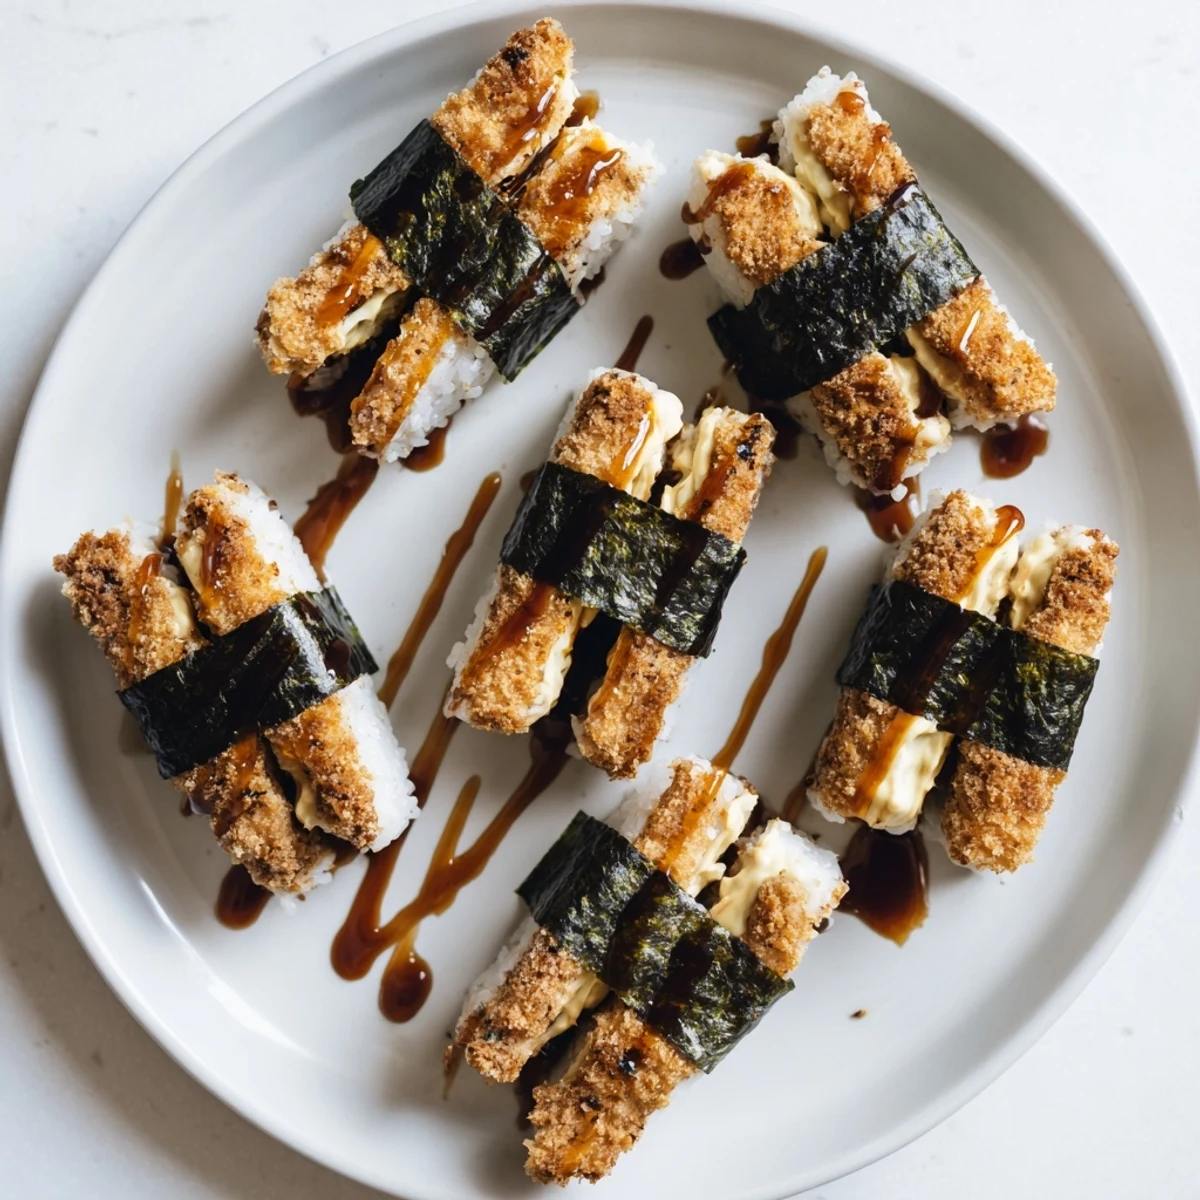
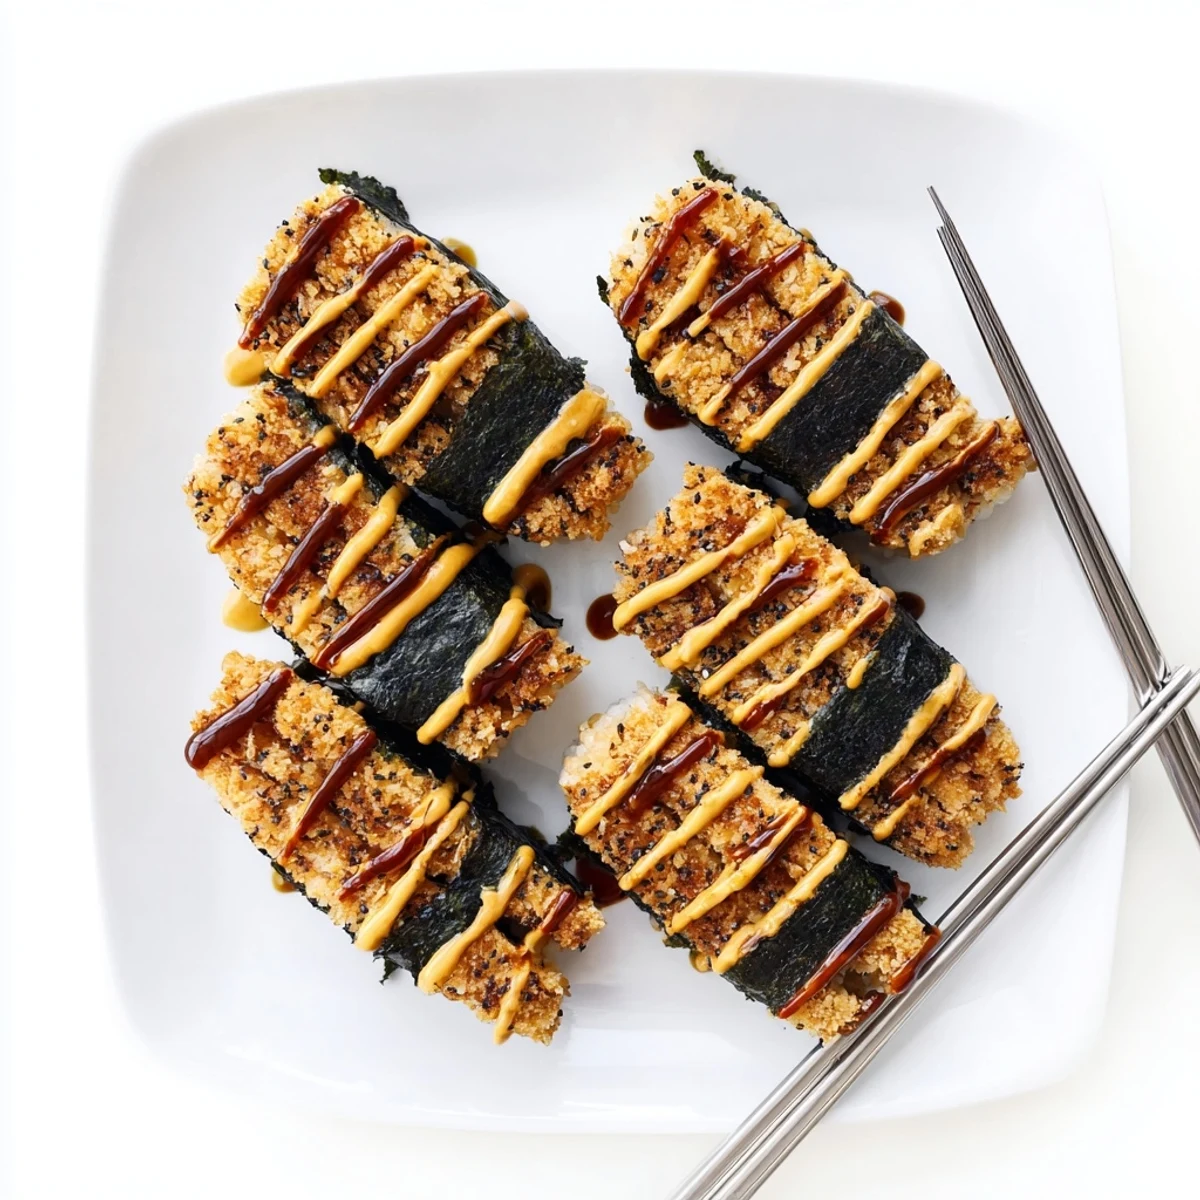
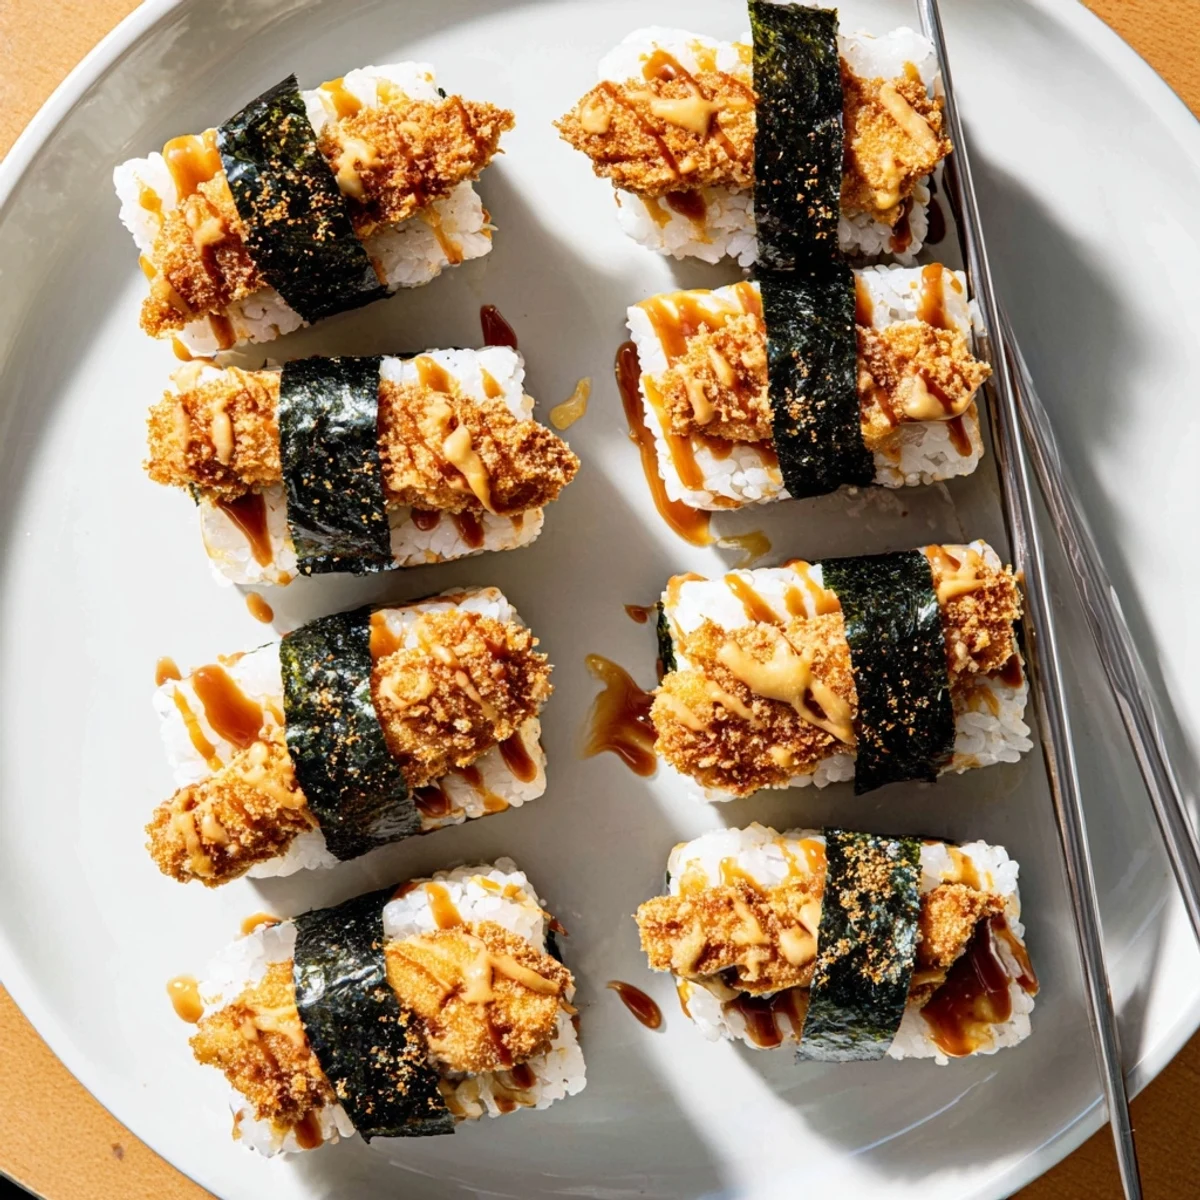
Save Chicken Katsu Musubi combines the best of Hawaiian and Japanese cuisines into one handheld delight. Tender chicken thighs are pounded thin, seasoned, coated in crispy panko breadcrumbs, then fried until golden brown. The crunchy chicken pairs perfectly with vinegared short-grain rice that's been lightly seasoned for balance. A sweet and tangy sauce made from tonkatsu sauce, soy sauce, and honey ties everything together. Wrapped in nori seaweed, these musubi are easy to pack for lunch, serve as appetizers, or enjoy as a satisfying snack. The contrast between the crispy exterior and soft, fluffy interior creates an irresistible texture combination.
The smell of frying chicken and warm rice always takes me back to my first trip to Oahu, where I discovered these magical handheld meals at a tiny hole-in-the-wall near Waikiki Beach. I watched in fascination as the cook assembled what looked like sushi but smelled like the best fried chicken I'd ever encountered. It took me three tries to recreate that perfect balance of textures at home, but now it's become our family's favorite way to use leftover rice.
Last summer, I made a batch of these for a beach day with friends, and honestly, nothing beats eating warm musubi with sand between your toes while the waves crash nearby. My friend Sarah, who claimed she didn't like Asian fusion food, ended up eating three of them and asking for the recipe before we even left the parking lot. Now they're her go-to contribution to every potluck.
Ingredients
- Boneless chicken thighs: Thighs stay juicier than breasts through the frying process and have more flavor
- Panko breadcrumbs: These create that signature airy crunch that regular breadcrumbs just cant achieve
- Short-grain Japanese rice: The starchiness helps the rice hold together when pressed into shape
- Rice vinegar mixture: Seasoning the rice adds subtle brightness that cuts through the fried chicken
- Tonkatsu sauce: This thick, savory-sweet sauce is absolutely essential for authentic flavor
- Nori sheets: Halving them creates the perfect wrapper size for handheld portions
Instructions
- Season and pound the chicken:
- Pound those thighs to even thickness so they cook uniformly and stay tender
- Set up your breading station:
- Arrange flour, beaten egg with milk, and panko in separate shallow dishes for easy dipping
- Fry until perfectly golden:
- Cook each side about 4 minutes until deeply golden and the internal temperature reaches 165F
- Season the warm rice:
- Fold the vinegar mixture gently into warm rice without mashing the grains
- Whisk the sauce:
- Combine tonkatsu sauce, soy sauce, and honey until smooth and slightly thickened
- Press the first rice layer:
- Use wet hands to form a compact rectangle on the nori that matches your chicken size
- Add the chicken and sauce:
- Place your sliced katsu on the rice and drizzle with just enough sauce to flavor without soaking
- Top with more rice:
- Add a thin layer of seasoned rice and press everything together firmly
- Wrap it tight:
- Use the plastic wrap to compress and shape, then let the nori soften for a few minutes
 Save
Save My daughter made these for her school's international food day, and she came home beaming because her teacher asked for the recipe. There's something so satisfying about watching people discover that first bite, the way their eyes light up when the crunch hits.
Getting The Rice Right
I've learned that rice cooked in a rice cooker has the perfect consistency, but if you're using a pot, rinse the grains until the water runs clear and use slightly less water than usual. The rice should be warm but not steaming hot when you start assembling, or it'll make the nori soggy.
Assembly Tips
After dozens of batches, I've found that working with plastic wrap underneath the nori makes the shaping process so much easier. Don't be afraid to press firmly when compacting the rice, but gentle enough that you don't crush the delicate grains.
Make Ahead Strategy
These are actually fantastic for meal prep, but there's a trick to keeping them fresh. Wrap each musubi individually in plastic wrap and store them in the refrigerator with a piece of paper towel to absorb excess moisture.
- Let refrigerated musubi come to room temperature for best texture
- Never microwave them or the rice will become gummy and tough
- The nori will soften over time, so plan to eat them within 24 hours
 Save
Save There's something profoundly satisfying about food you can hold in your hand, each layer revealing itself as you take that first perfect bite. I hope these become a regular part of your kitchen adventures too.
Questions & Answers
- → What makes musubi different from sushi?
-
Musubi uses pressed rice blocks rather than hand-formed sushi rice, typically features cooked proteins instead of raw fish, and wraps ingredients entirely in nori for easy handling. The rice is also more tightly compacted to hold its shape.
- → Can I make these ahead of time?
-
Yes, musubi travels exceptionally well. Wrap each piece individually in plastic wrap and store refrigerated for up to 24 hours. The nori will soften slightly but maintains its structure. Bring to room temperature before serving for best texture.
- → What's the secret to extra-crispy chicken katsu?
-
Double-frying creates maximum crunch. Fry once until cooked through, let rest on a wire rack, then fry again briefly before assembling. Also ensure oil temperature stays around 350°F and don't overcrowd the pan.
- → Can I use brown rice instead of white?
-
Brown rice works but creates a different texture and flavor profile. Short-grain brown rice needs more water and longer cooking time. The nuttier flavor complements the chicken but the grains won't stick together quite as tightly.
- → What can I substitute for tonkatsu sauce?
-
Mix equal parts ketchup, Worcestershire sauce, and oyster sauce with a dash of sugar. Or use bulldog sauce if available. The homemade blend in this recipe already combines tonkatsu with soy sauce and honey for a balanced flavor.
- → How do I prevent the rice from sticking to my hands?
-
Keep a small bowl of water nearby and wet your hands thoroughly before handling rice. You can also lightly oil your hands or use damp plastic wrap as a barrier. The moisture helps rice release cleanly.
